by blogediter | Sep 13, 2023 | Fireplaces
So you have old fireplaces in a home from the early 1900’s, or 1800’s to 1700’s?
Historic homes with old fireplaces are often wide open or have broken dampers and hardware that rusted and rotted-out a long time ago. It is impossible to get parts for these old fireplaces, because they were custom made by metalsmiths that have long passed.
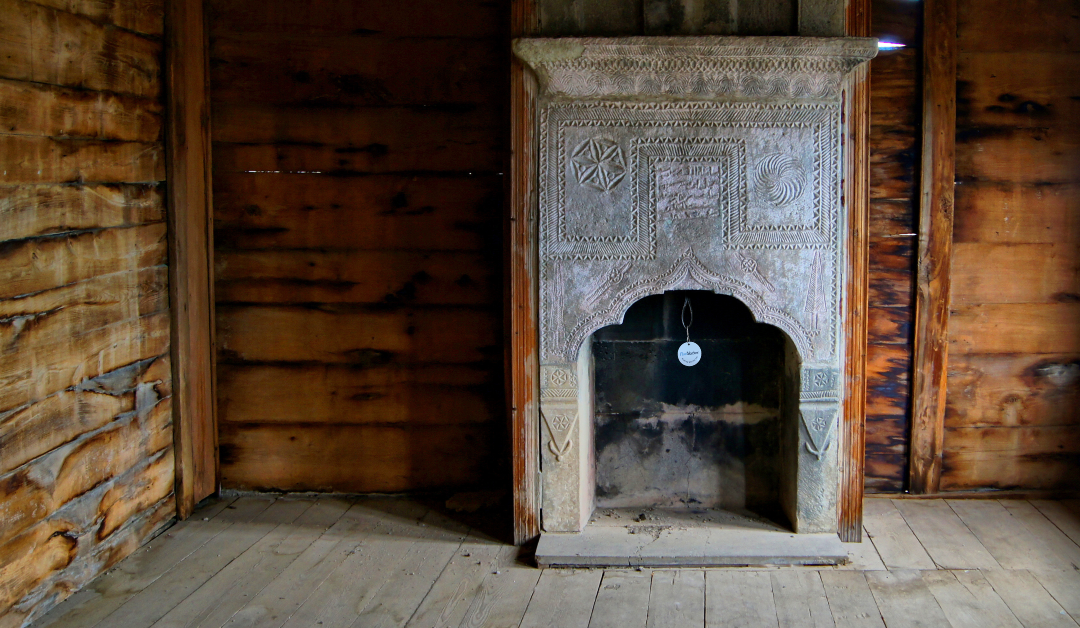
Jagged old fireplace
Old historic homes in general are filled with history and character and wonderful features from a by-gone era. But they are also a lot of work and they are full of surprises. Upgrading or fixing the old fireplaces in a home that is over 100 years old can be a challenge, but it will require some measurements and perhaps a custom sized Flueblocker chimney plug. Or you may have to trim the wool pad of the Flueblocker to fit an irregular shape or size.
Look for a location above the firebox that is low enough to touch with your hands, that you could install a Flueblocker into. Measure the length and depth of that area and buy a Flueblocker that is a little larger than that space. If it is an irregular or trapezoidal shape be sure to measure the widest points and narrowest points.
Best way to close off an old fireplace?
Often the wool padded Flueblocker is better than an inflatable Chimney Balloon in these old fireplaces, because the broken bricks and sharp rusted metal can cause punctures to an inflatable chimney plug. Also the Flueblocker can be ordered in custom sizes to accommodate very large openings, and you have the option to scissor-cut them to fit if needed.
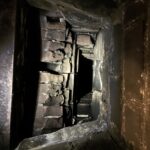
Flueblocker above the firebox
Construction materials are different in old fireplaces
Because old fireplaces are often thoroughly coated with years of creosote, ash, and soot it is best to seal the chimney as low as possible to seal out the smokey and sooty smells of the smoke chamber and flue. Old fireplaces are generally brick and mortar from top to bottom, and do not have modern featured like a clay or stainless steel flue tile.
The brick and mortar can often be crumbly or broken from centuries of wear and tear. You cannot assume a fireplace is even safe to burn in. It is important to have a level 2 chimney inspection done before an old fireplace is used for burning. In my experience, historic homes rarely have fireplaces that can be used before they have extensive work done. The old fireplaces may have worked well centuries ago, but they need an upgrade to work today.
by blogediter | May 3, 2019 | Chimney Plugs
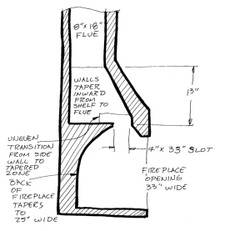
Q:Jason, My fireplace chimney is very unusual since the flue is so far forward and the smoke shelf or smoke chamber is so deep. There is no place to put the Chimney Balloon that has parallel walls before the 8×18 tile flue. Do you see any options that may be easier to install in according to my diagram? – JA
Dear JA: This is not an easy install since your lowest point with parallel walls will be the flue tile above the smoke shelf. Looks like the 18″x 8″ location would be best with an HEK extender handgrip. The smoke shelf juts out so much that the CB handgrip would get in the way of it, if trying to put the CB into the chamber just above the smoke shelf. – Jason
Note: In this case, a Custom 18×8 with an HEK extender worked very well and was easy to install since the flue was only 13″ above the smoke shelf ledge.

by blogediter | Mar 29, 2019 | Fireplaces
Q: Dear Jason, Help! I have a very nice EPA rated wood stove that was put in about a year ago. It was installed in my lower level and the trouble is it smells of creosote and smoke smell when I am not using it. I know it is negative pressure bringing the smokey stink back into the house. Can I plug the flue with a Chimney Balloon to prevent the backdraft from bringing the smell back in? – TW
A: Dear TW, It depends on what type of stove you have. The image to the left is the inside top of an Avalon woodstove that has firebrick baffles on the top of the firebox. These brick baffles can be removed and it gives you easy access to the round flue so you can install a 9×9 Chimney Balloon when it is not being used. In the picture, you can see the one brick is being lifted because they just set in there by gravity.
Other wood stoves are completely metal-clad in the firebox and the baffles are welded steel. In these fireplaces, you often have no access to the flue through the firebox.
On occasion, you can get access to another part of the chimney through a clean-out door portal. Usually, these are outside and near a bend in the chimney or pipe.
You have to have access to the woodstove flue or chimney to plug it with a Chimney Balloon. – Jason
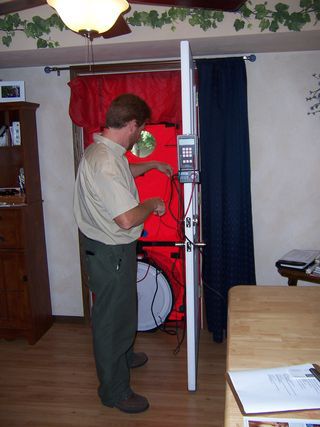
by blogediter | Sep 14, 2018 | Chimney Problems
Energy audit
Q: Jason, I have a wood burning fireplace with a cozy great heater insert. I have a top of the Chimney Balloon and traditional damper installed. I have bad downdrafts and soot smell on rainy, windy days.
I am a Home Inspector and I am in the middle of a Certified Energy Training Program with RESNET. I just received a copy of Energy Magazine and read about your product. Looks like a good idea. I am going to try the vinegar tip. I need to measure my flue and I will order to try on my house. Once I get my blower door I will try the test like you did. I have doors, 2 dampers, and the Chimney Balloon. Thanks.- MW
PS. I will tell all my clients if I have success with your product. Nice website by the way and I am posting it on a few inspection association boards for others to try.
A: Hi MW, That was a great article you were referring to in Home Energy magazine (Mar/Apr 09) the energy rater that did the testing of the Chimney Balloon (Mark Furst) for that article did a great summarizing his testing of the Chimney Balloon. Mark was chosen to do the review/test because he had no experience with the Chimney Balloon, and could give an unbiased opinion. Mark also has a great reputation in Wisconsin for being very thorough at energy rating. We cannot re-post the article for copyright reasons, but you can click here to see a PDF of a summary of the Chimney Balloon article.
We would really welcome your comments and test results if you decide to do your own blower door testing of the Chimney Balloon with your fireplace.
We have not had the opportunity yet to compare the Chimney Balloon to the top seal dampers in blower door testing. I know the top seal dampers tend to seal tighter than traditional low-in-the-firebox metal dampers, but the trouble that is often experienced with a top seal damper is you are sealing the Chimney Balloon and all of its creosote and soot content into the homes interior air envelope by bottling the chimney at the top. What further compounds the issue is the fact that the warm interior air that naturally ascends the Chimney Balloon and is trapped there by the top damper tends to cool against the uninsulated brick walls of the chimney and the cold metal of the top damper and then that now-cool air drops again to the firebox. This convection process and air movement creates a draft and odor sensation at the hearth and into the room. That could be what you are experiencing.
The Chimney Balloon installed low and close to the firebox seals of the chimney from the homes interior air and eliminates this convection and air movement. – Jason
by blogediter | Feb 12, 2018 | Chimney Plugs
There are two types of Chimella. The green one for the standard and purple one which is large. The difference between the two is the handle of the large Chimella is detached while the handle of the standard Chimella is already attached. Don’t forget to read the instruction booklet inside the firebox. Take the Chimella, out of it and push together to make sure that the button is fully pushed up. Try it! Push the button again to close your Chimella and turn it around like a handle bottle grip. Push together firmly and it’s ready to go.