31-1 Closed Slip Knuckle Damper with Side Handle
31-2 Closed Slip Knuckle Damper with Side Handle
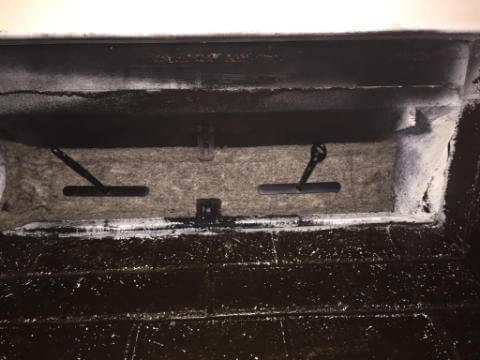
31-3 Flueblocker cut for handle
Fireplace #31: Slip Knuckle Damper with Side Handle
These Slip Knuckle Dampers are very common in masonry fireplaces of solid brick or stone. These are their characteristics:
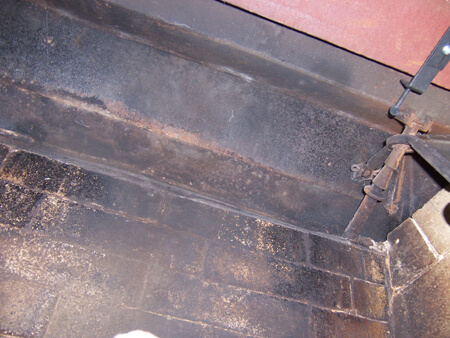
- They have a long rectangular cast iron damper door.
- The door has a short handle with a loop threaded through a horizontal shaft with flared knuckles (image 31-2).
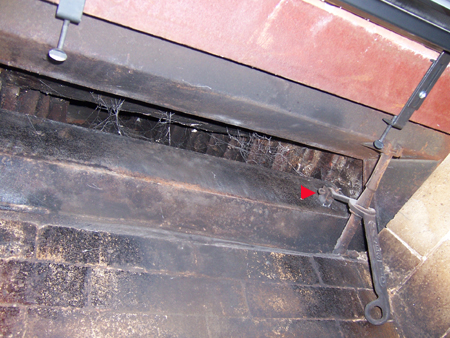
- The damper is set low in the flue, just above the firebox.
- The damper handle is attached to the damper door by a cotter pin (image 31-1 see red arrow)
The Flueblocker is your most durable option
If you want to plug the flue tight, and for a long duration, then go with a Flueblocker. It seals and insulates very well. Install it above the damper frame for the tightest fit:
- First, straighten and pull the cotter pin that holds the damper handle to the damper door (image 31-1). This allows you to swing the damper handle out of the way
- With the handle removed, you can push up on the damper door. It is now unhinged and free, since it is just setting in there by gravity. So flip the damper door back and out of the way.
- Measure the damper frame opening. and install a Flueblocker that is slightly larger than the damper frame opening. Here are some examples:- If the hole is 24″ to 31″ long = Buy a 8×32 Flueblocker
– If the hole is 32″ to 44″ long = By a 9×45 Flueblocker - Slip the Flueblocker into the same space that the damper door use to occupy. Once tucked into place, it will seal much better than the metal damper door did.
- The Flueblocker is a wool pad with extra hems, so you can trim them to size with sharp scissors. Leave the pad at least 2″ larger than the hole, so it fits snug.