#99: What Chimney Plug Do I Use if I have No Damper?
#99: What Chimney Plug Do I Use if I have No Damper?

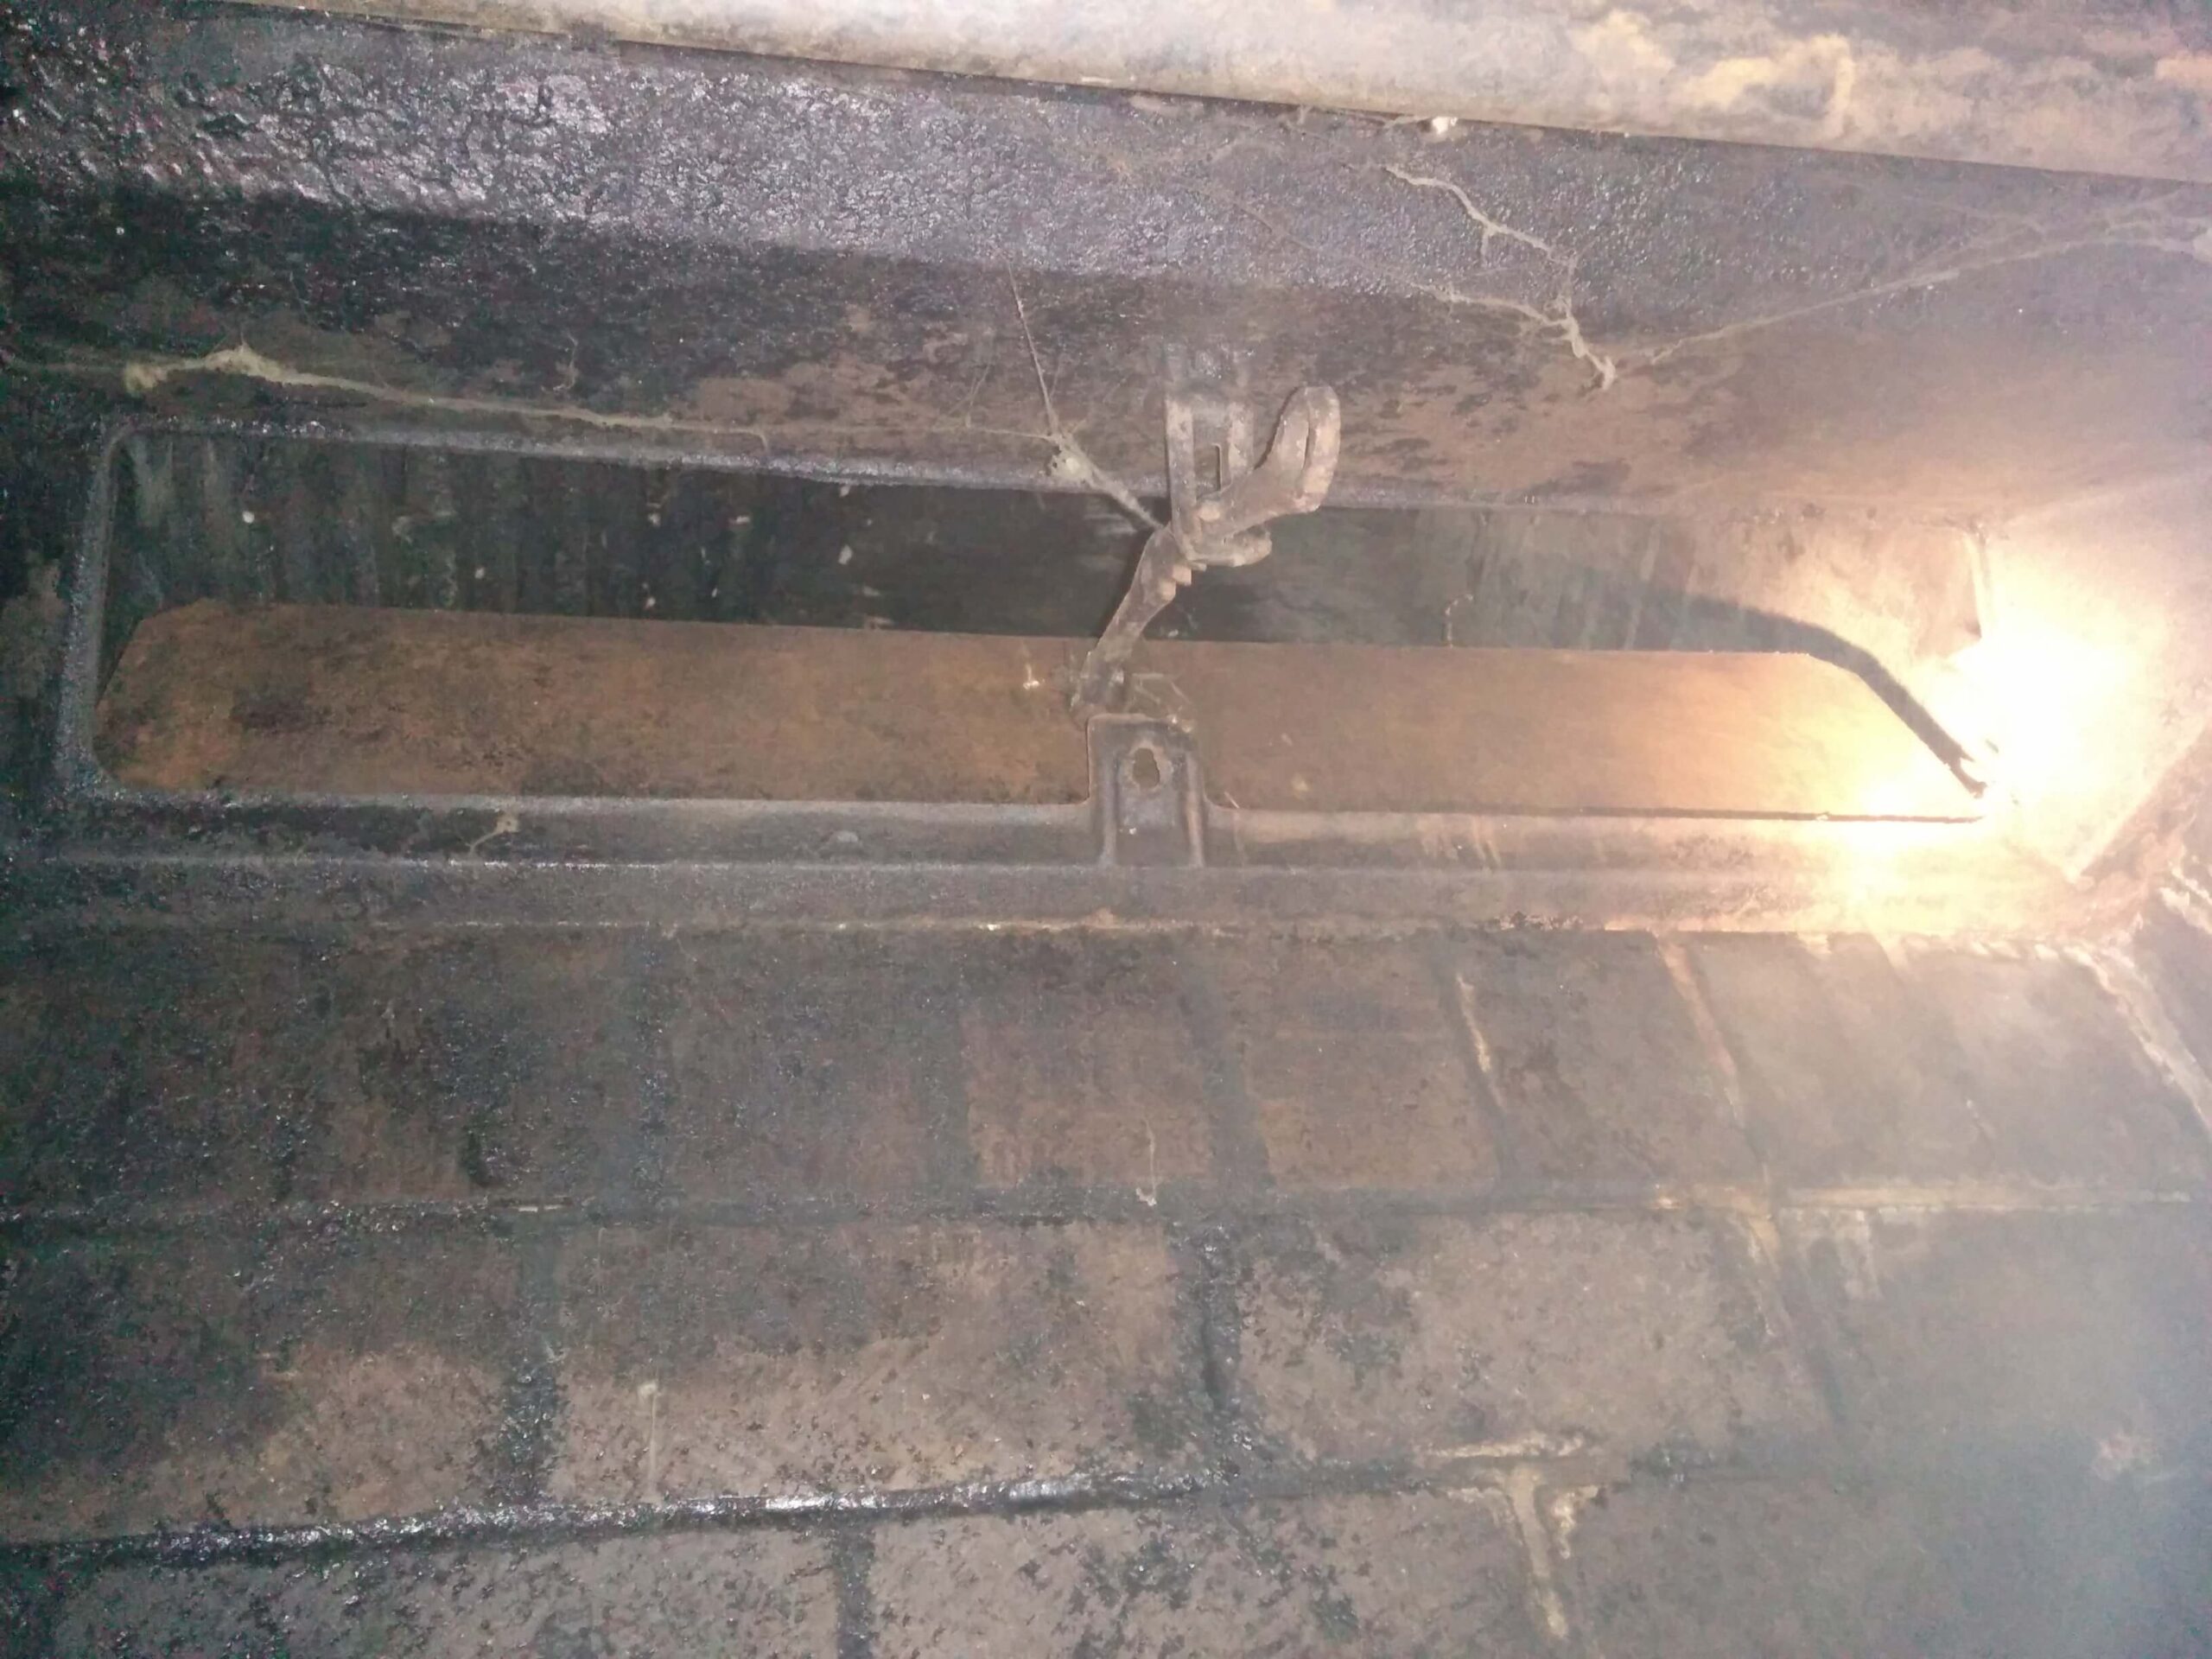
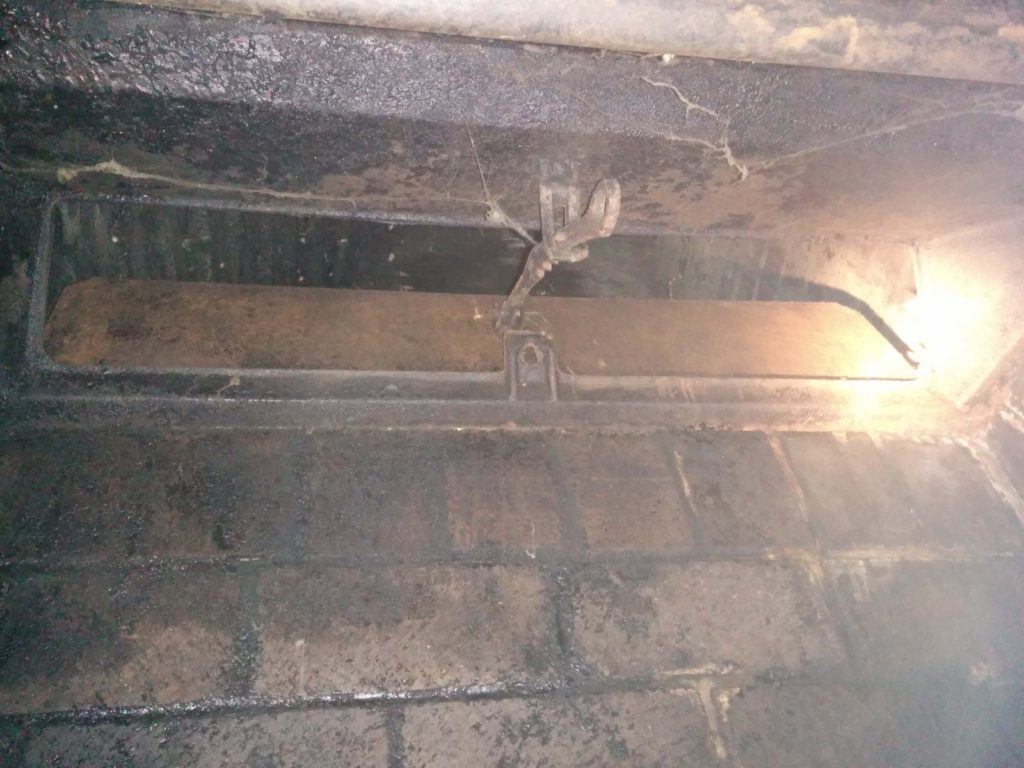
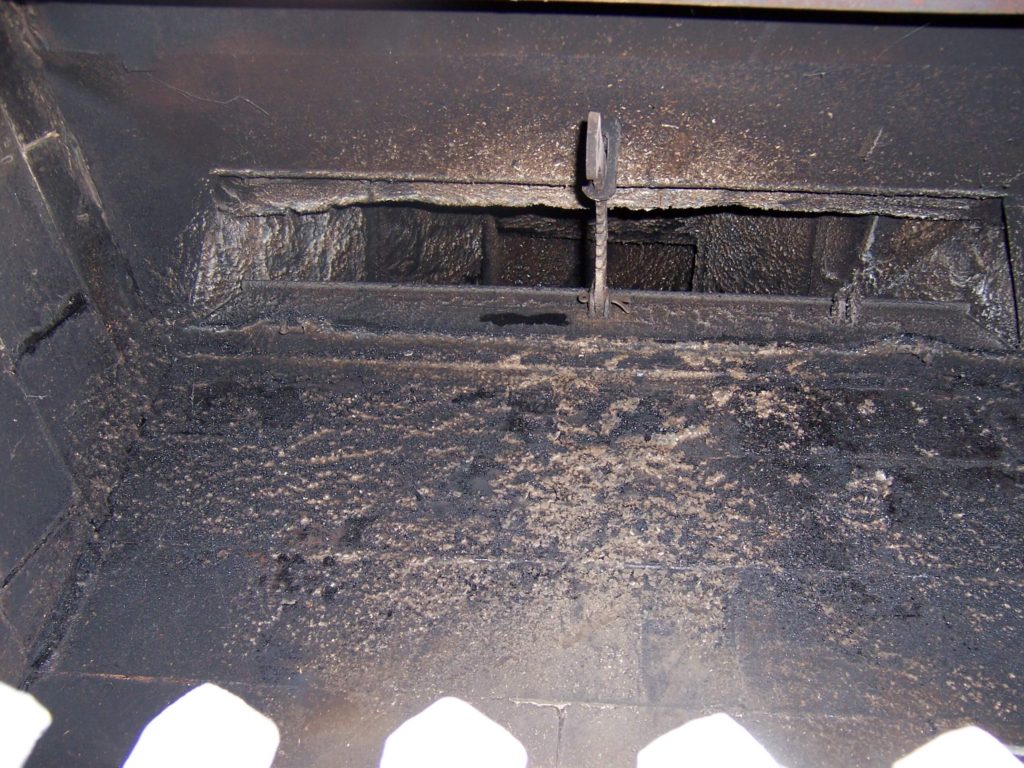
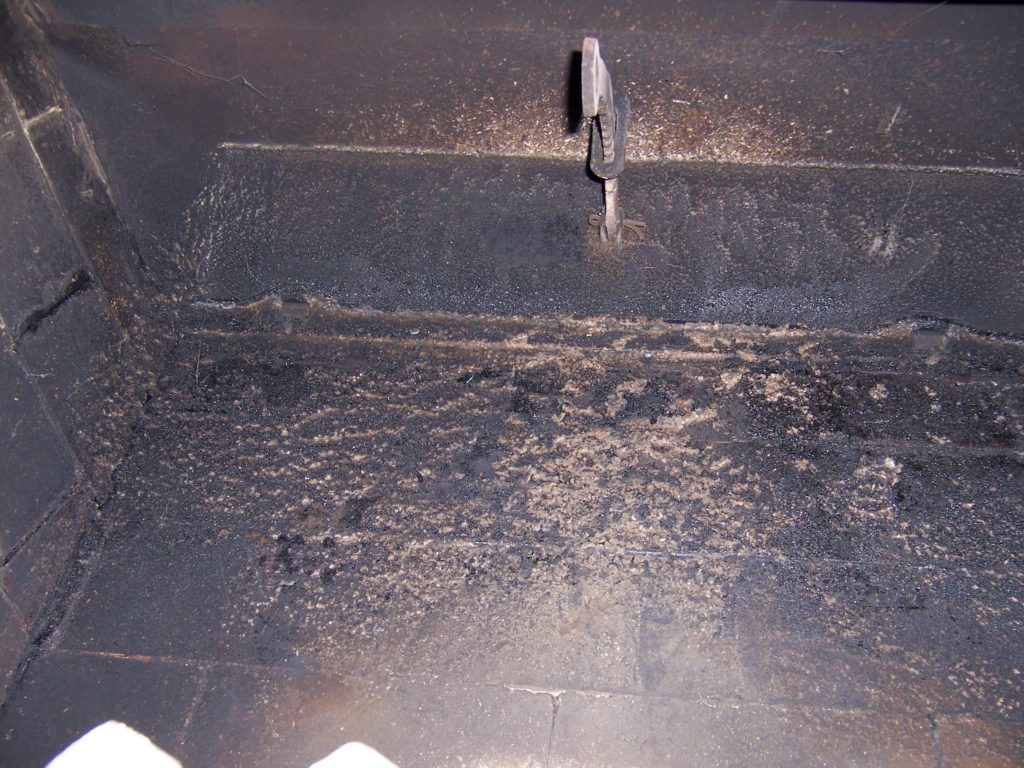
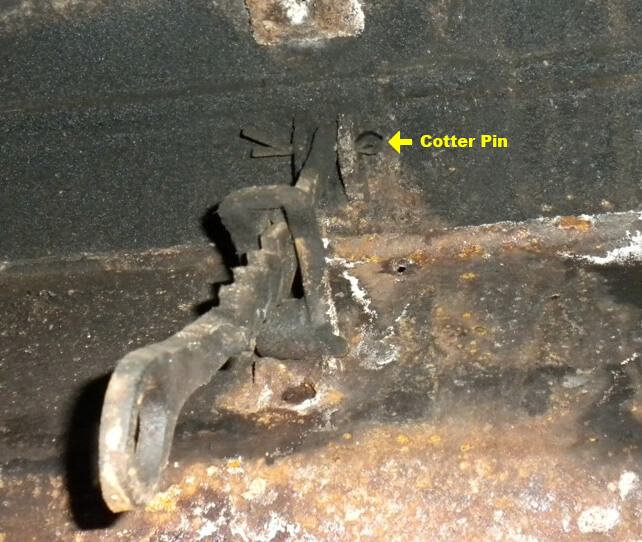
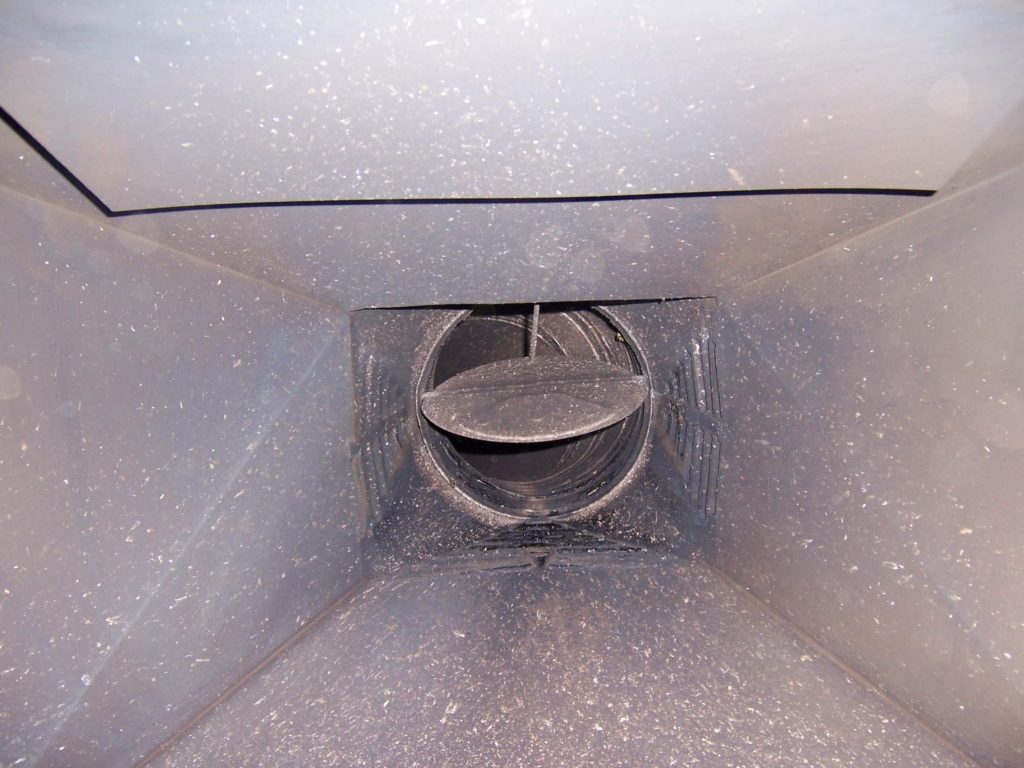
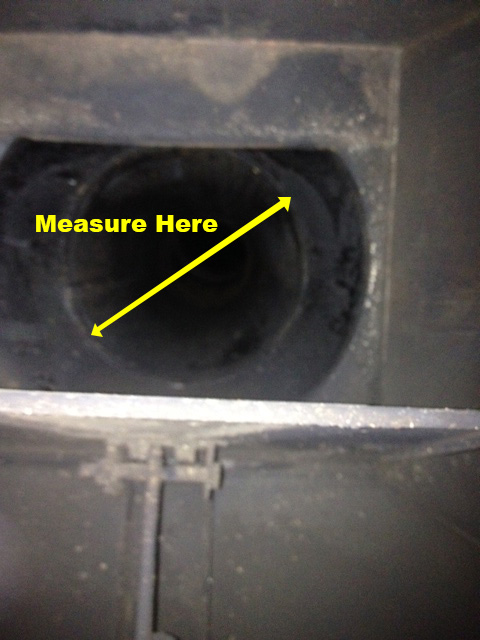
99-1 Wide Open Chimney Flue
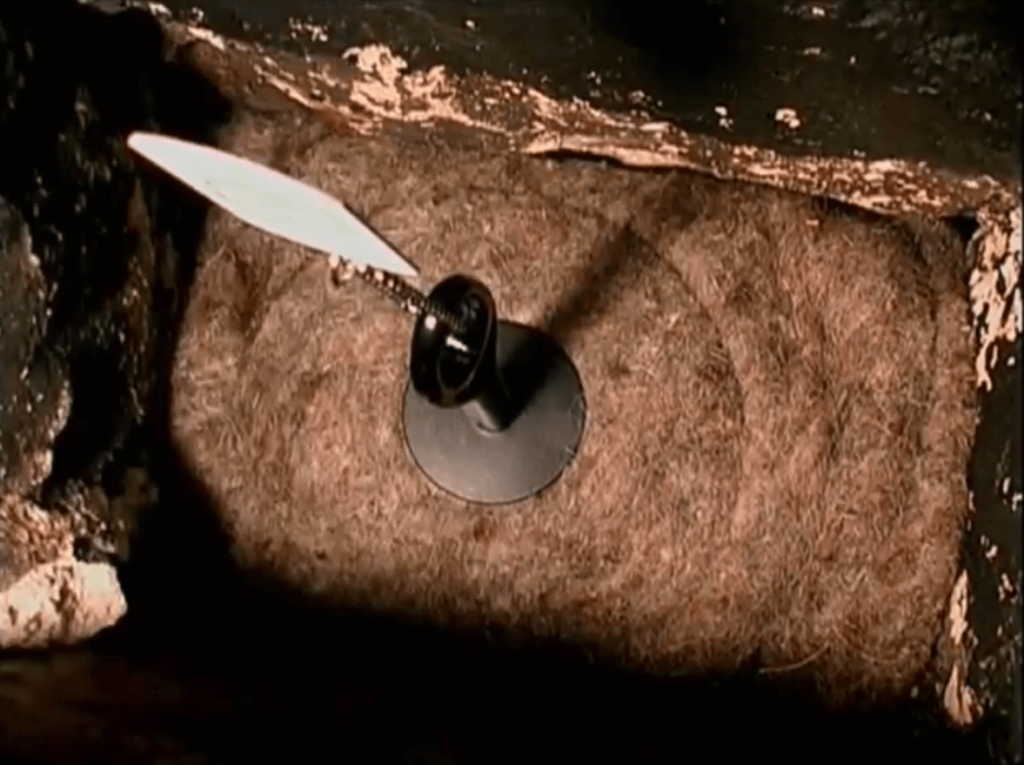
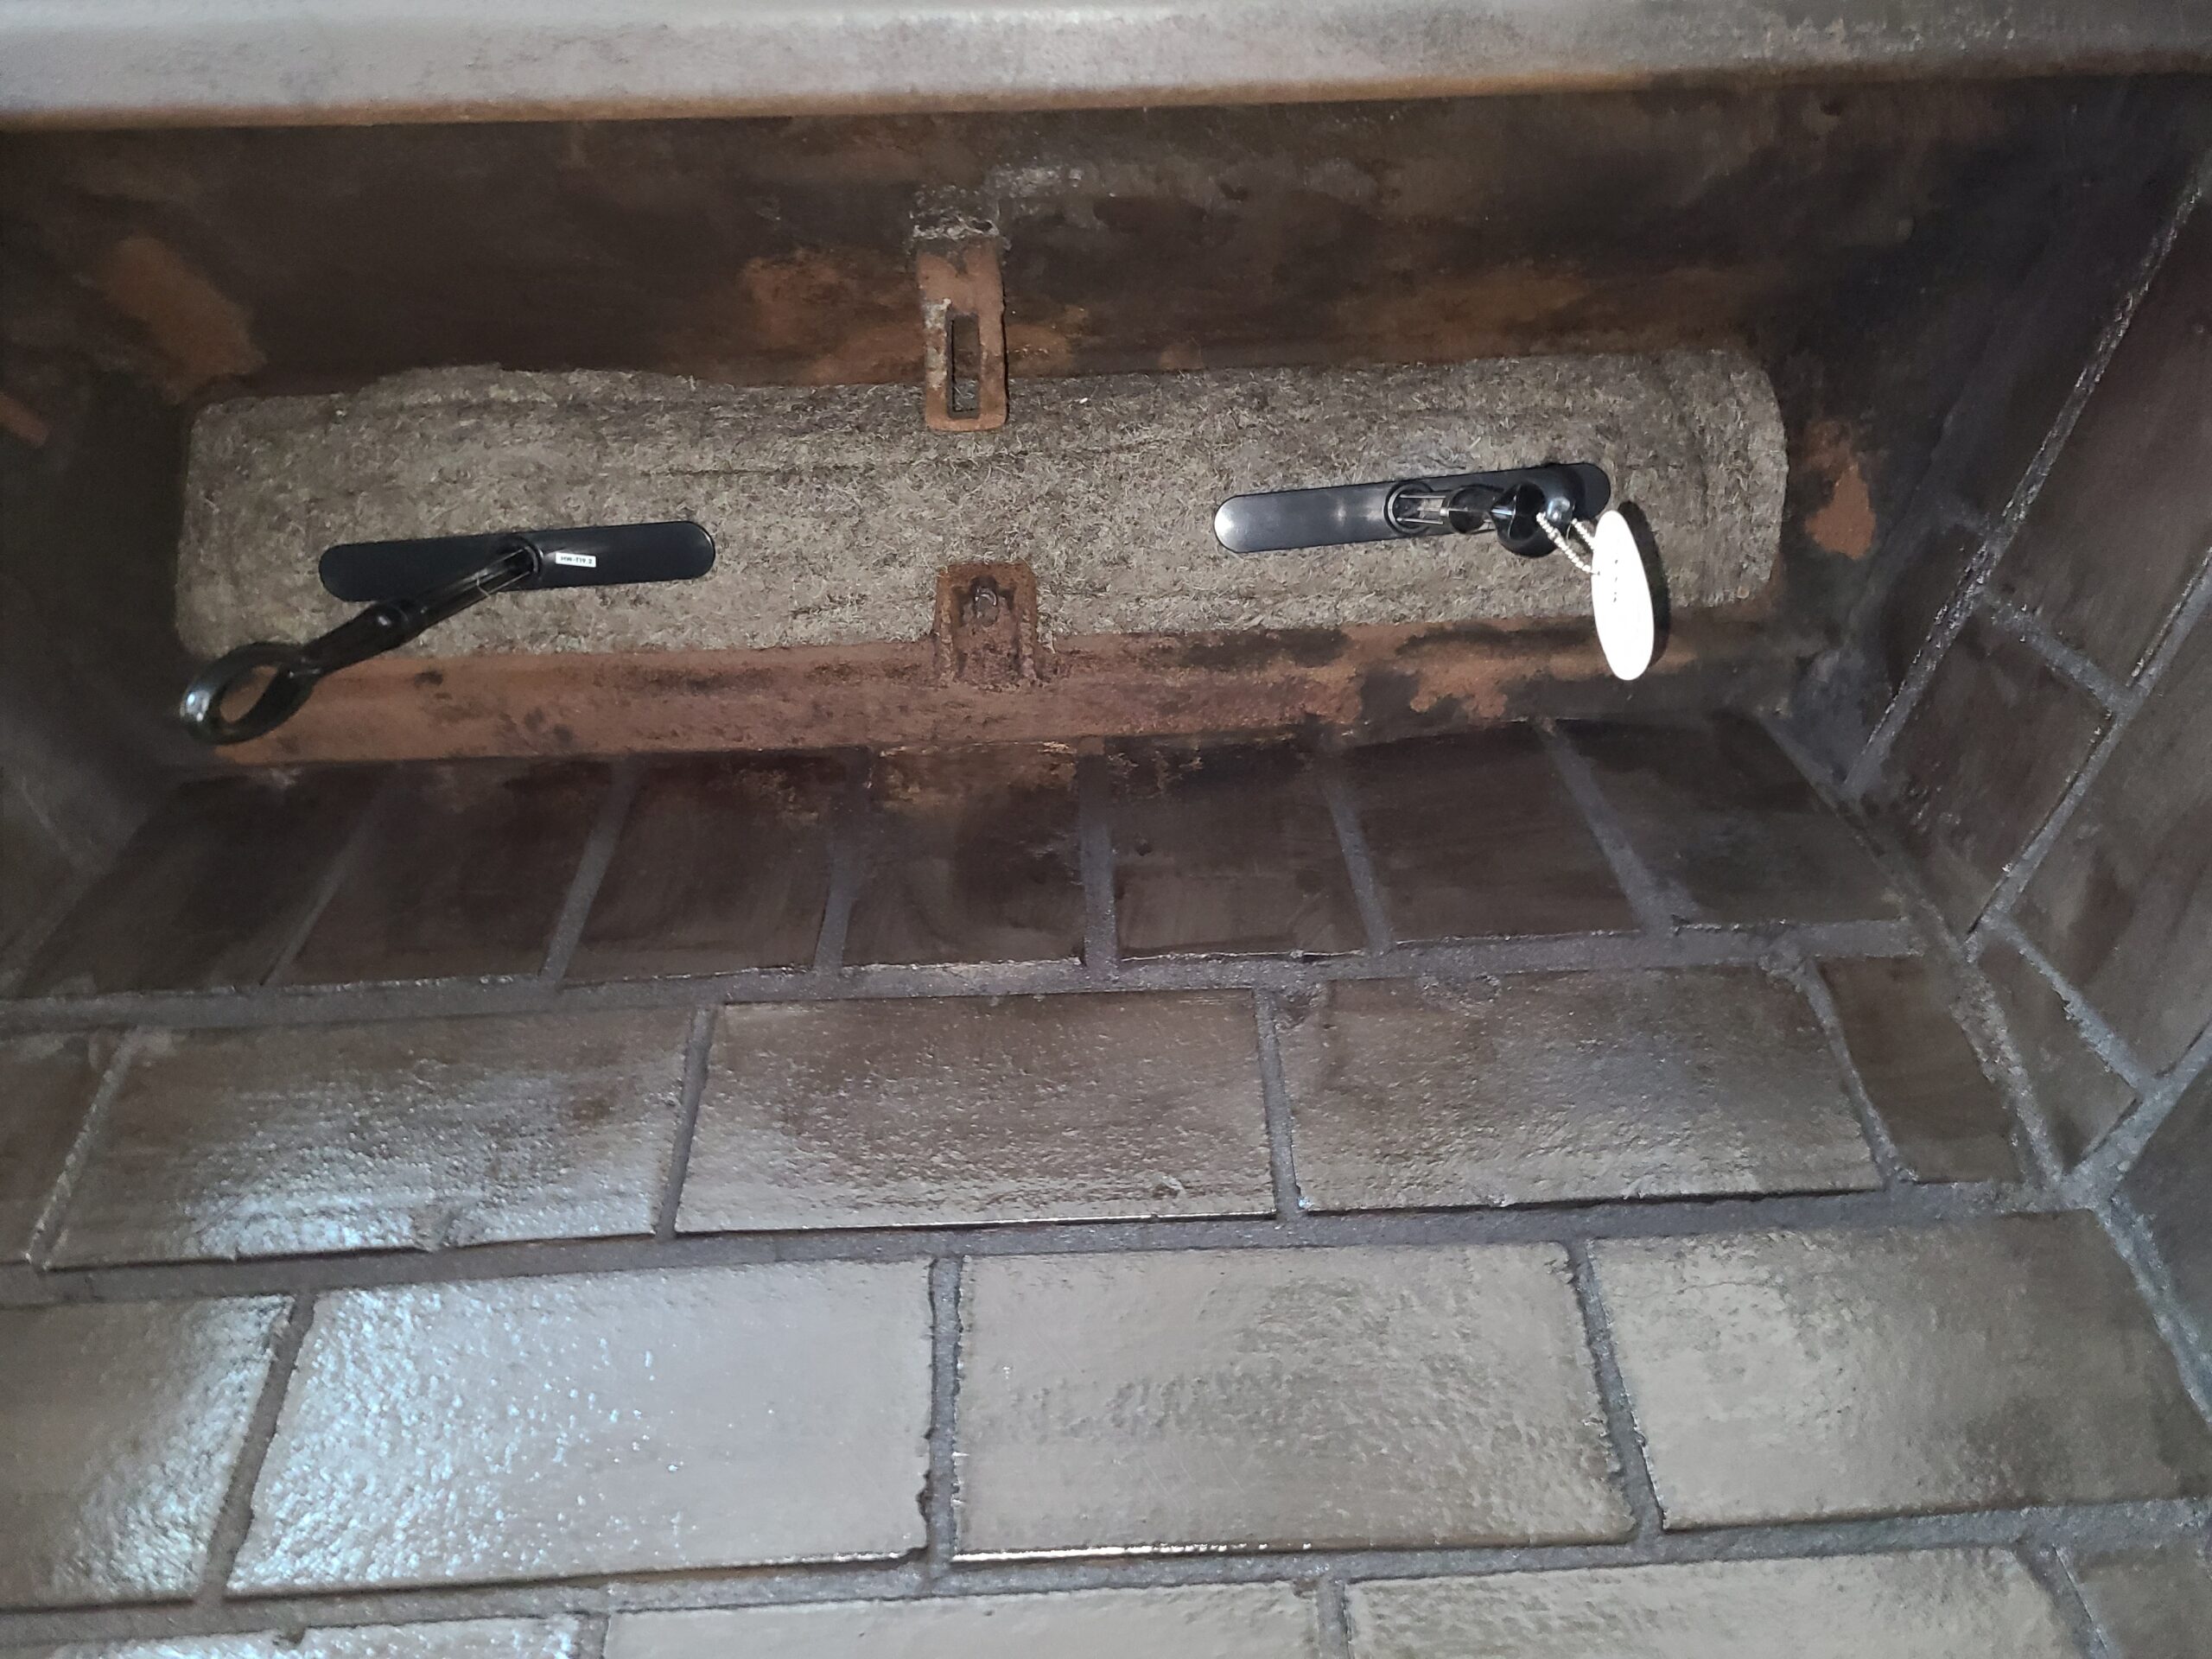
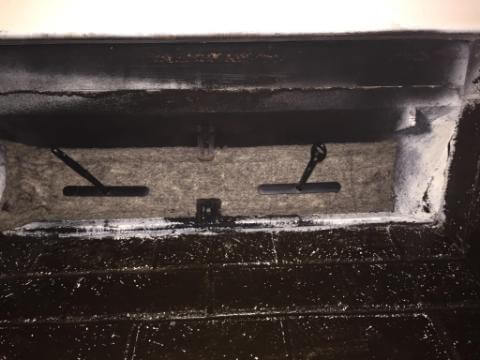
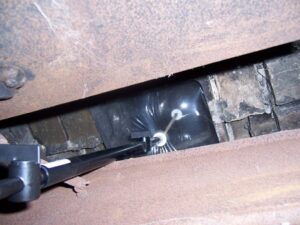
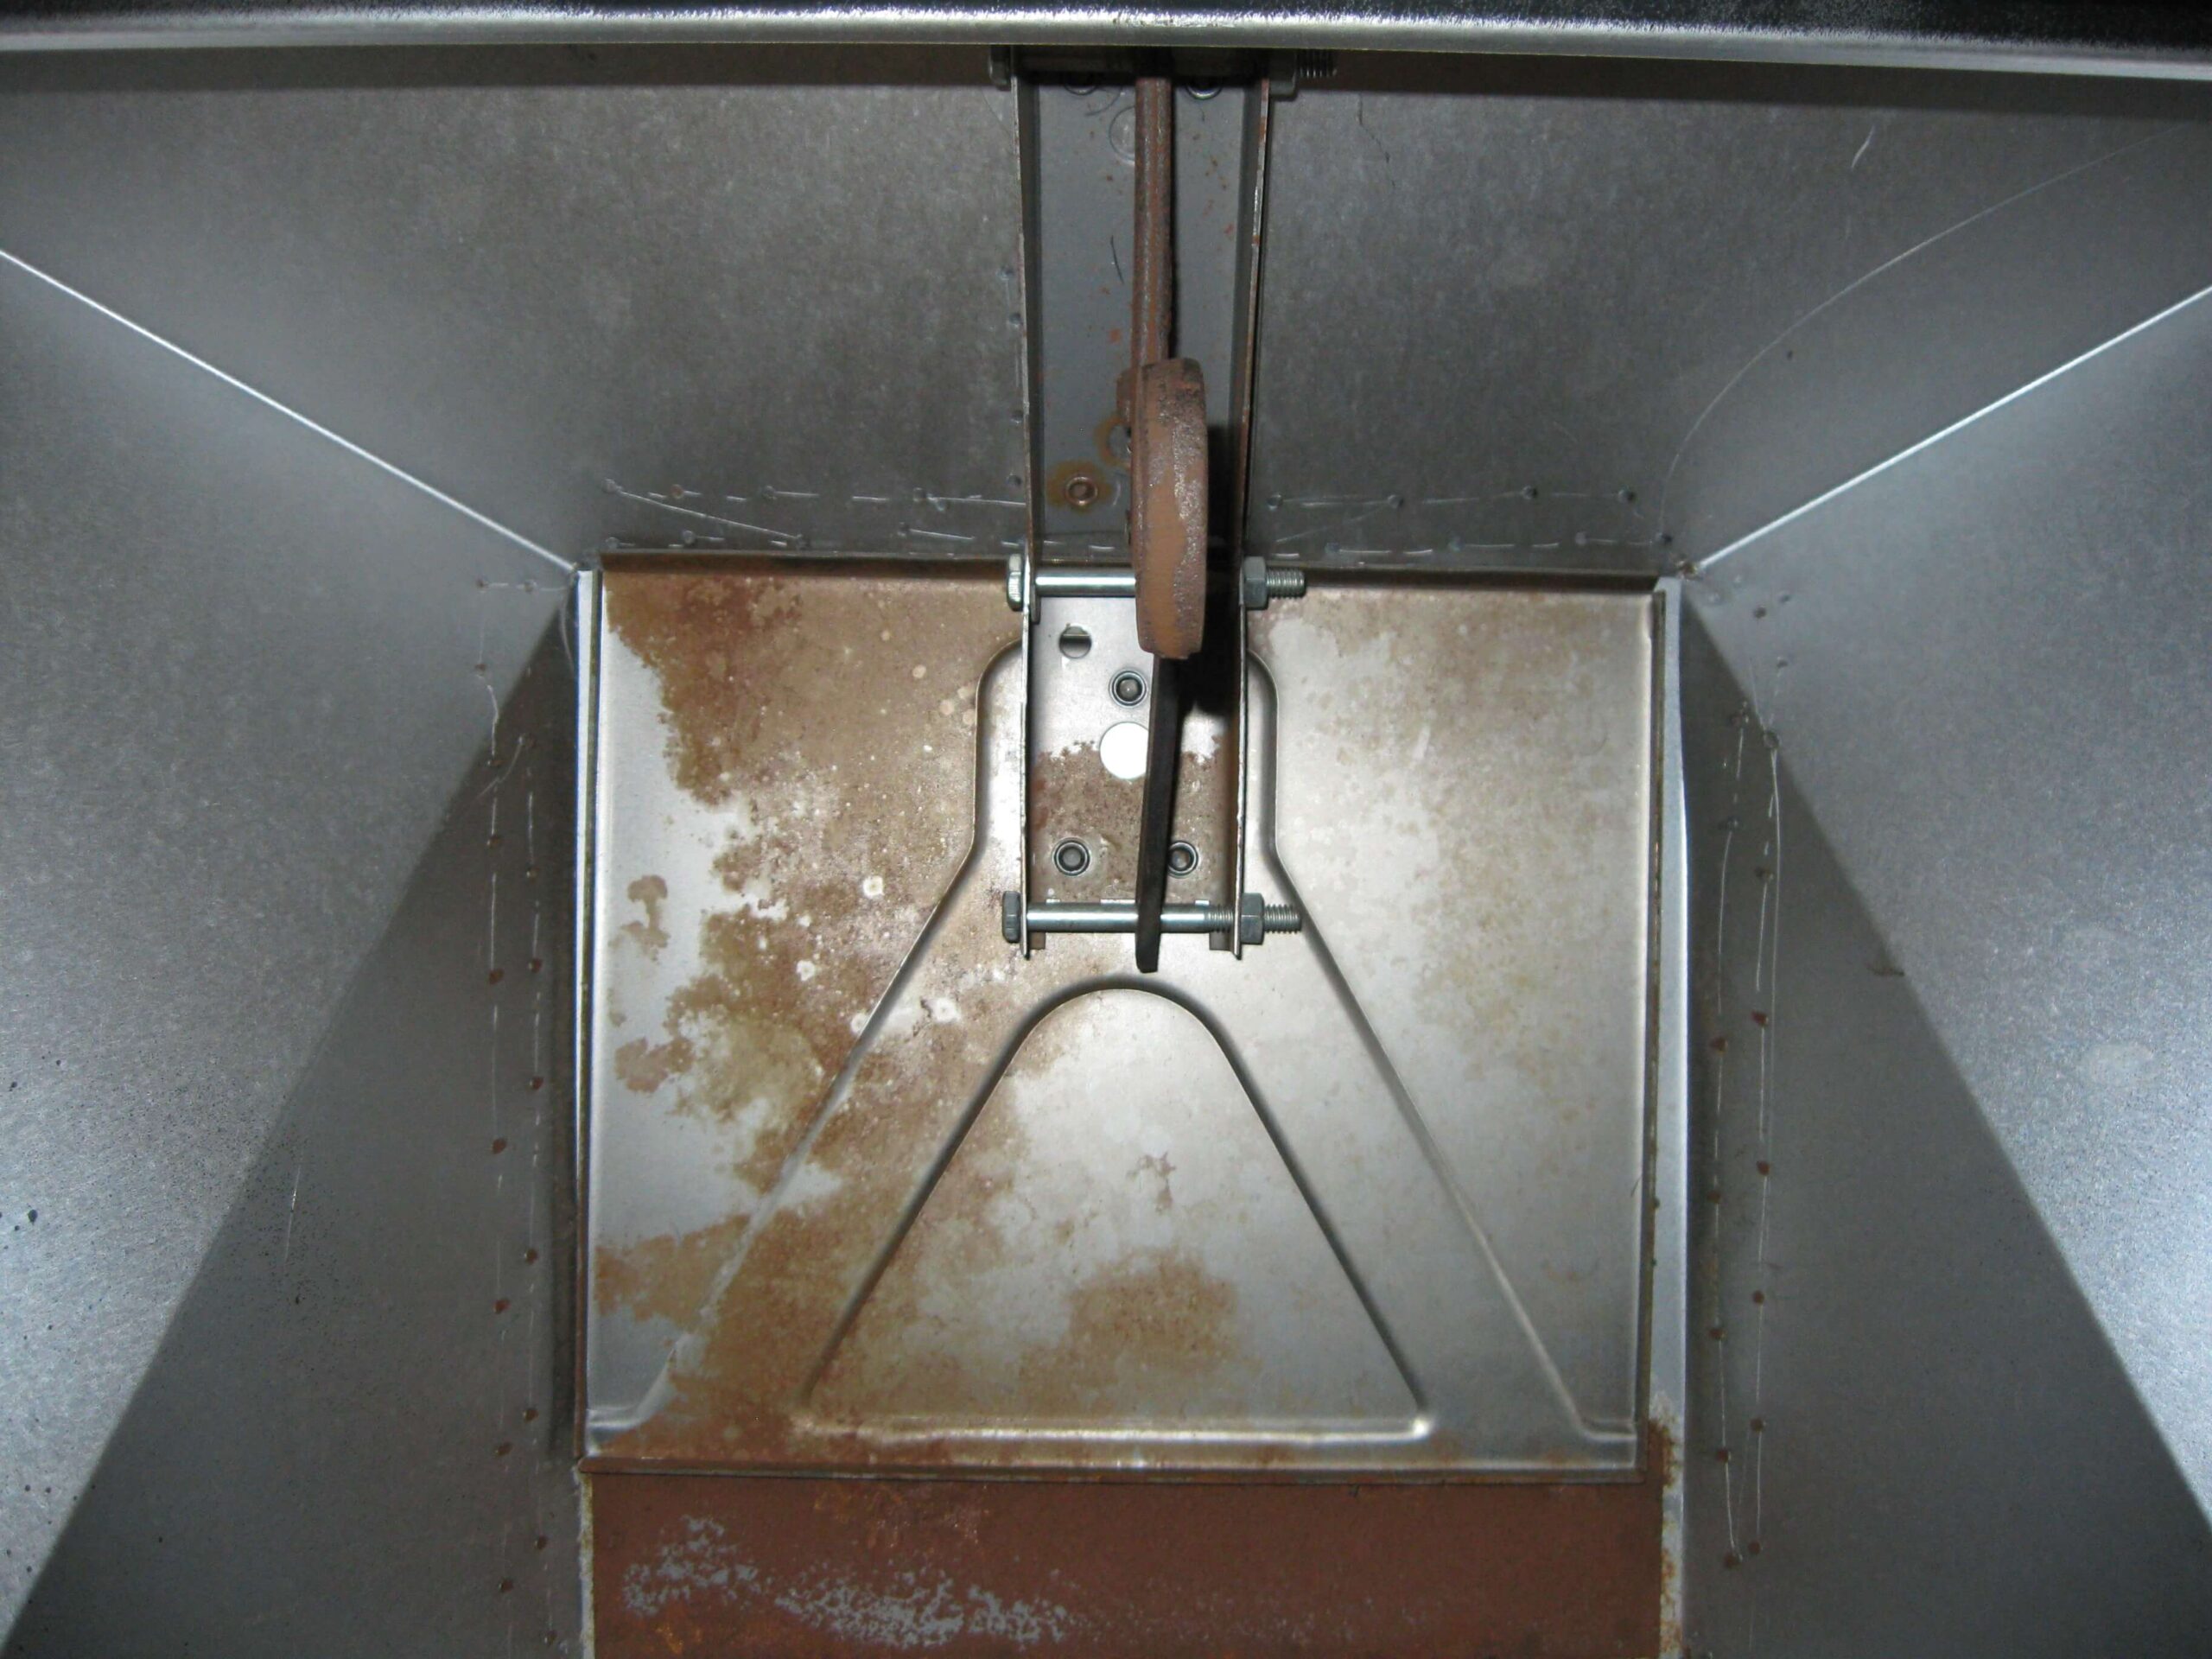
99-3 Flueblocker installed
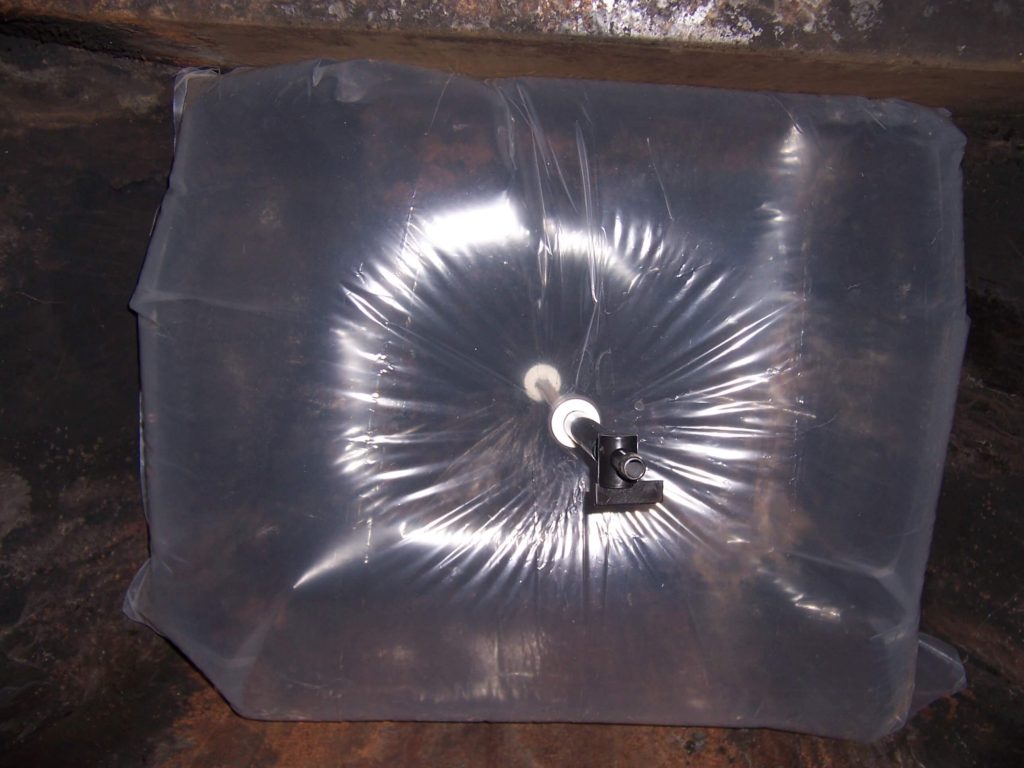
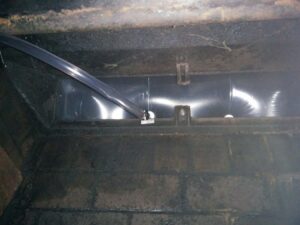
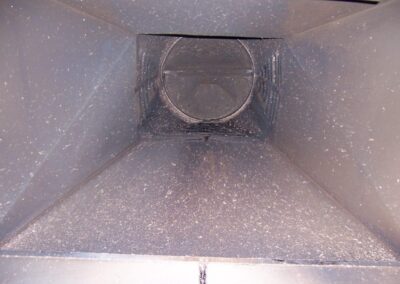
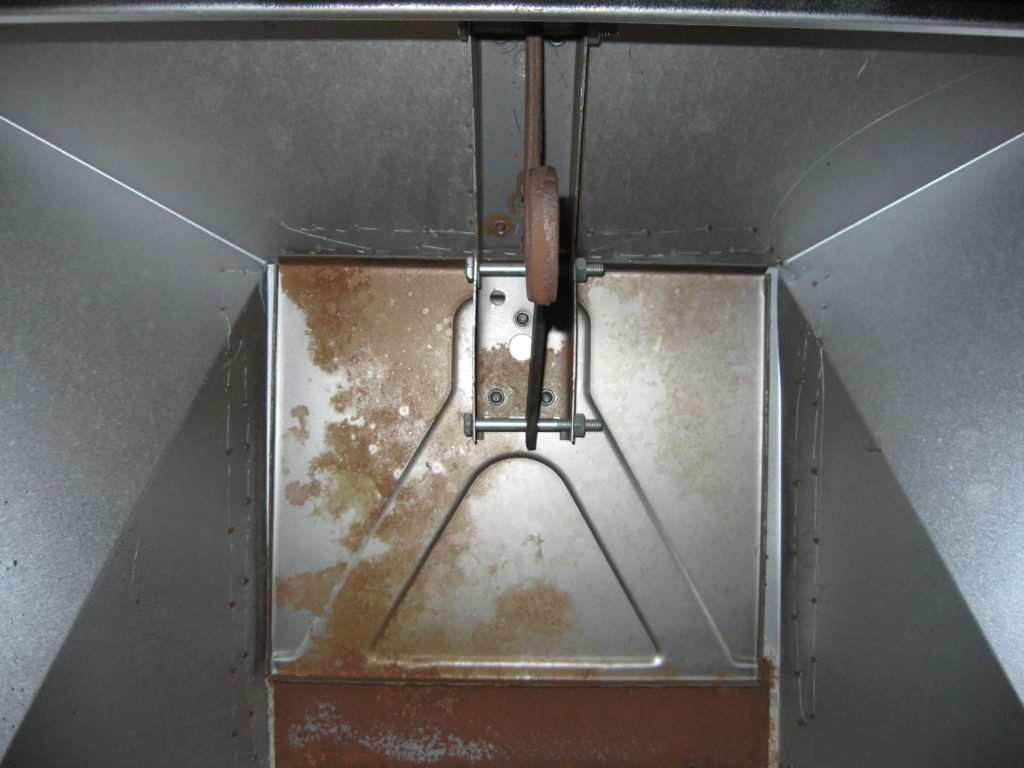
99-4 Chimney Balloon installed
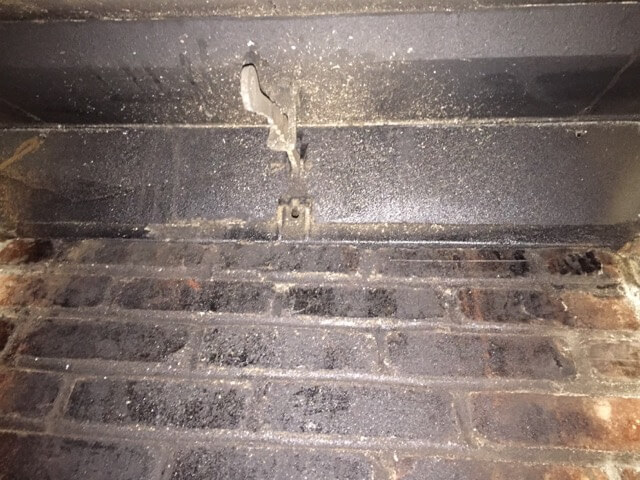
Fireplace #99: Wide-Open Smoke Chamber and Flue, No Hardware
These fireplaces with no damper or hardware are usually quite old. They represent a worst-possible-case-scenario for heating and cooling loss. Once you get this plugged, you will notice an immediate difference in the home.
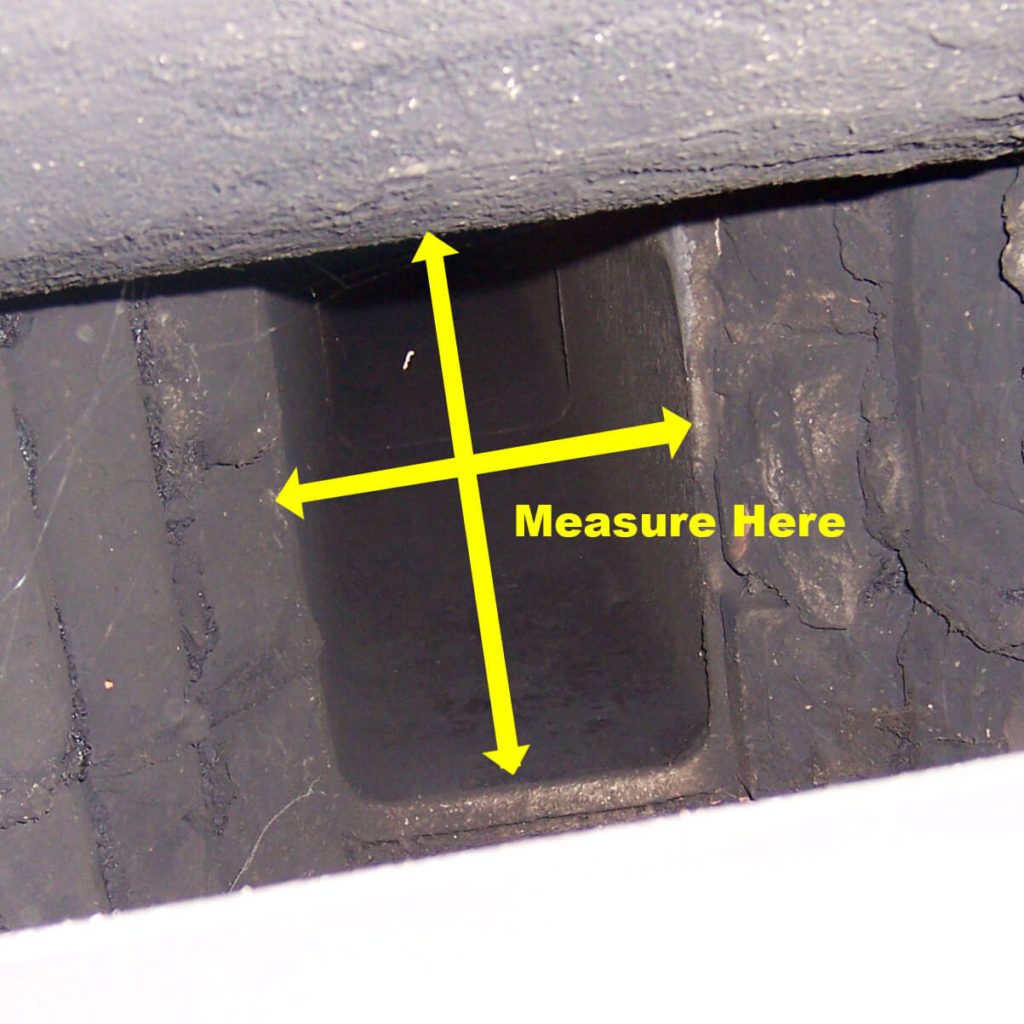
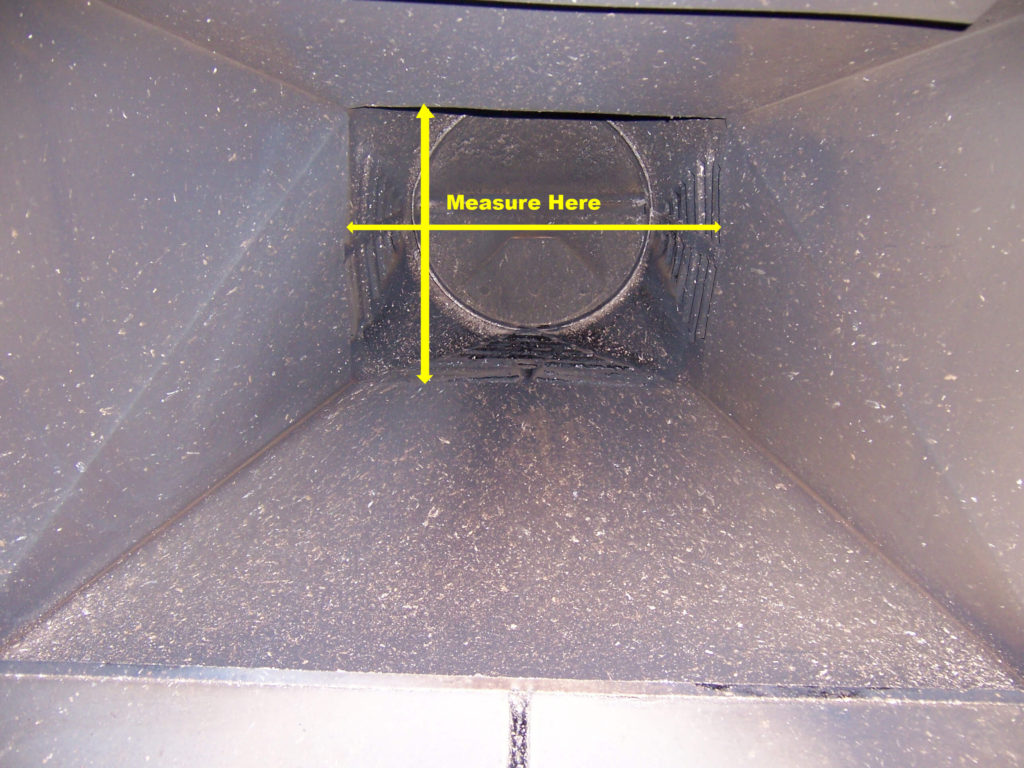
You can basically take your pick from the chimney plugs we offer. You just need to select the height you want to plug the flue, and measure length and width of that location (image 99-1)
Here are the advantages of each:
- The Flueblocker comes in many sizes. So you can select one that is slightly larger than your measurements and press-fit it in place. This wool pad offers a tight seal and insulation properties. This is good if you prefer a fix it and forget it solution. (image 99-3)
- The Chimney Balloon provides a tight seal and sound buffering capability. It is an inflatable, so it is less durable that the wool plug. The Chimney Balloon is about 10″ tall when inflated. So you must install it low in the flue where the walls are parallel, so it can grab the walls. It does particularly well at stopping odors and bugs. (image 99-4)