
#32: I Have a Welded Side Handle Damper, How Do I Plug the Flue?
#32: I Have a Welded Side Handle Damper, How Do I Plug the Flue?
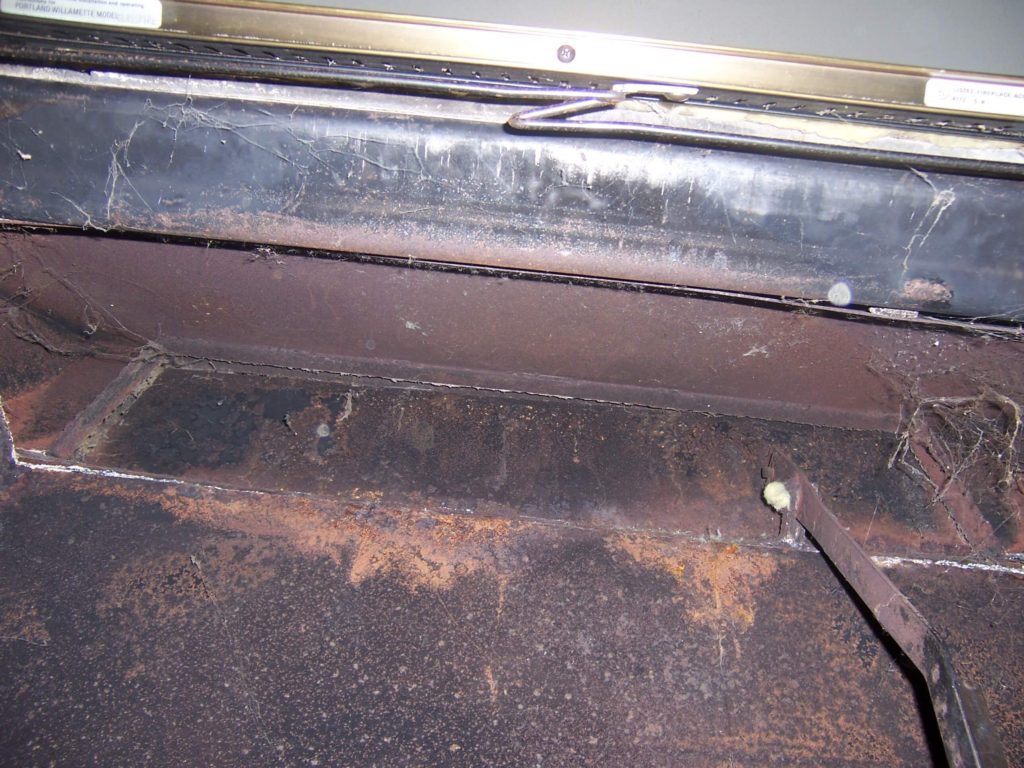
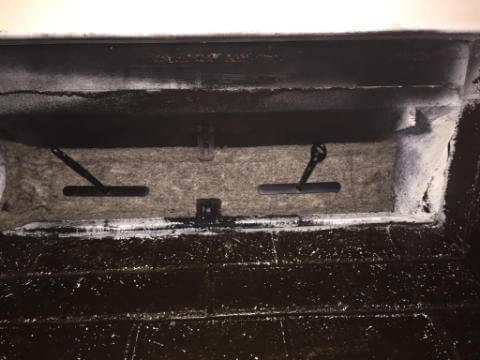
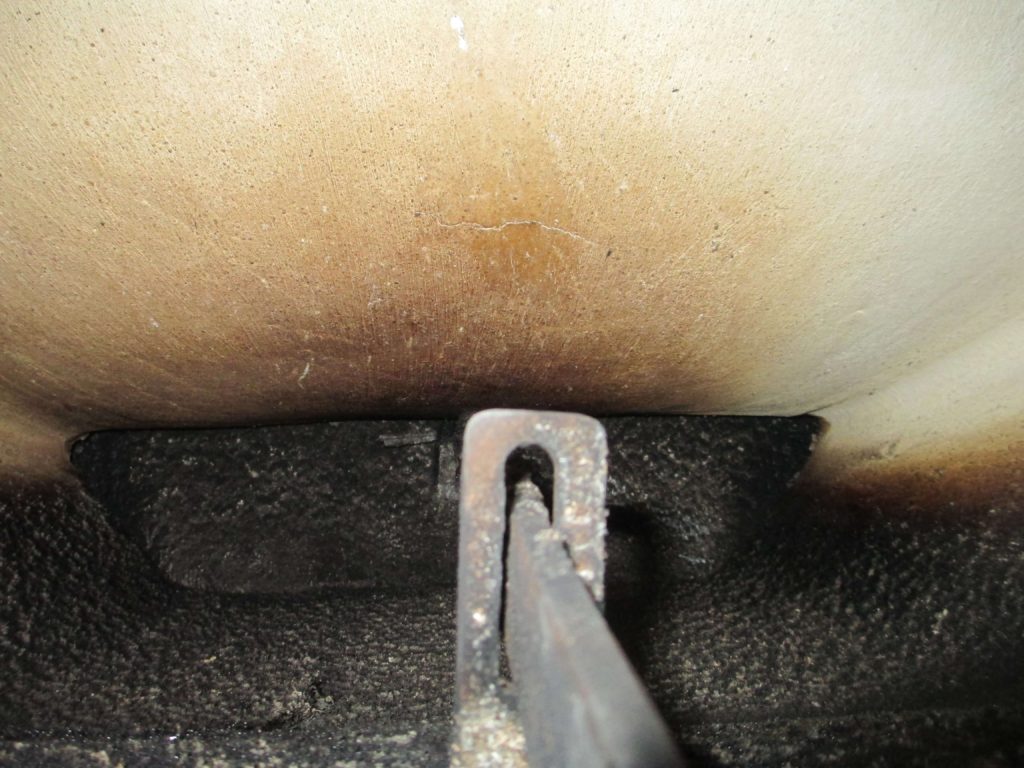
32-1 Closed Welded Side Handle Damper
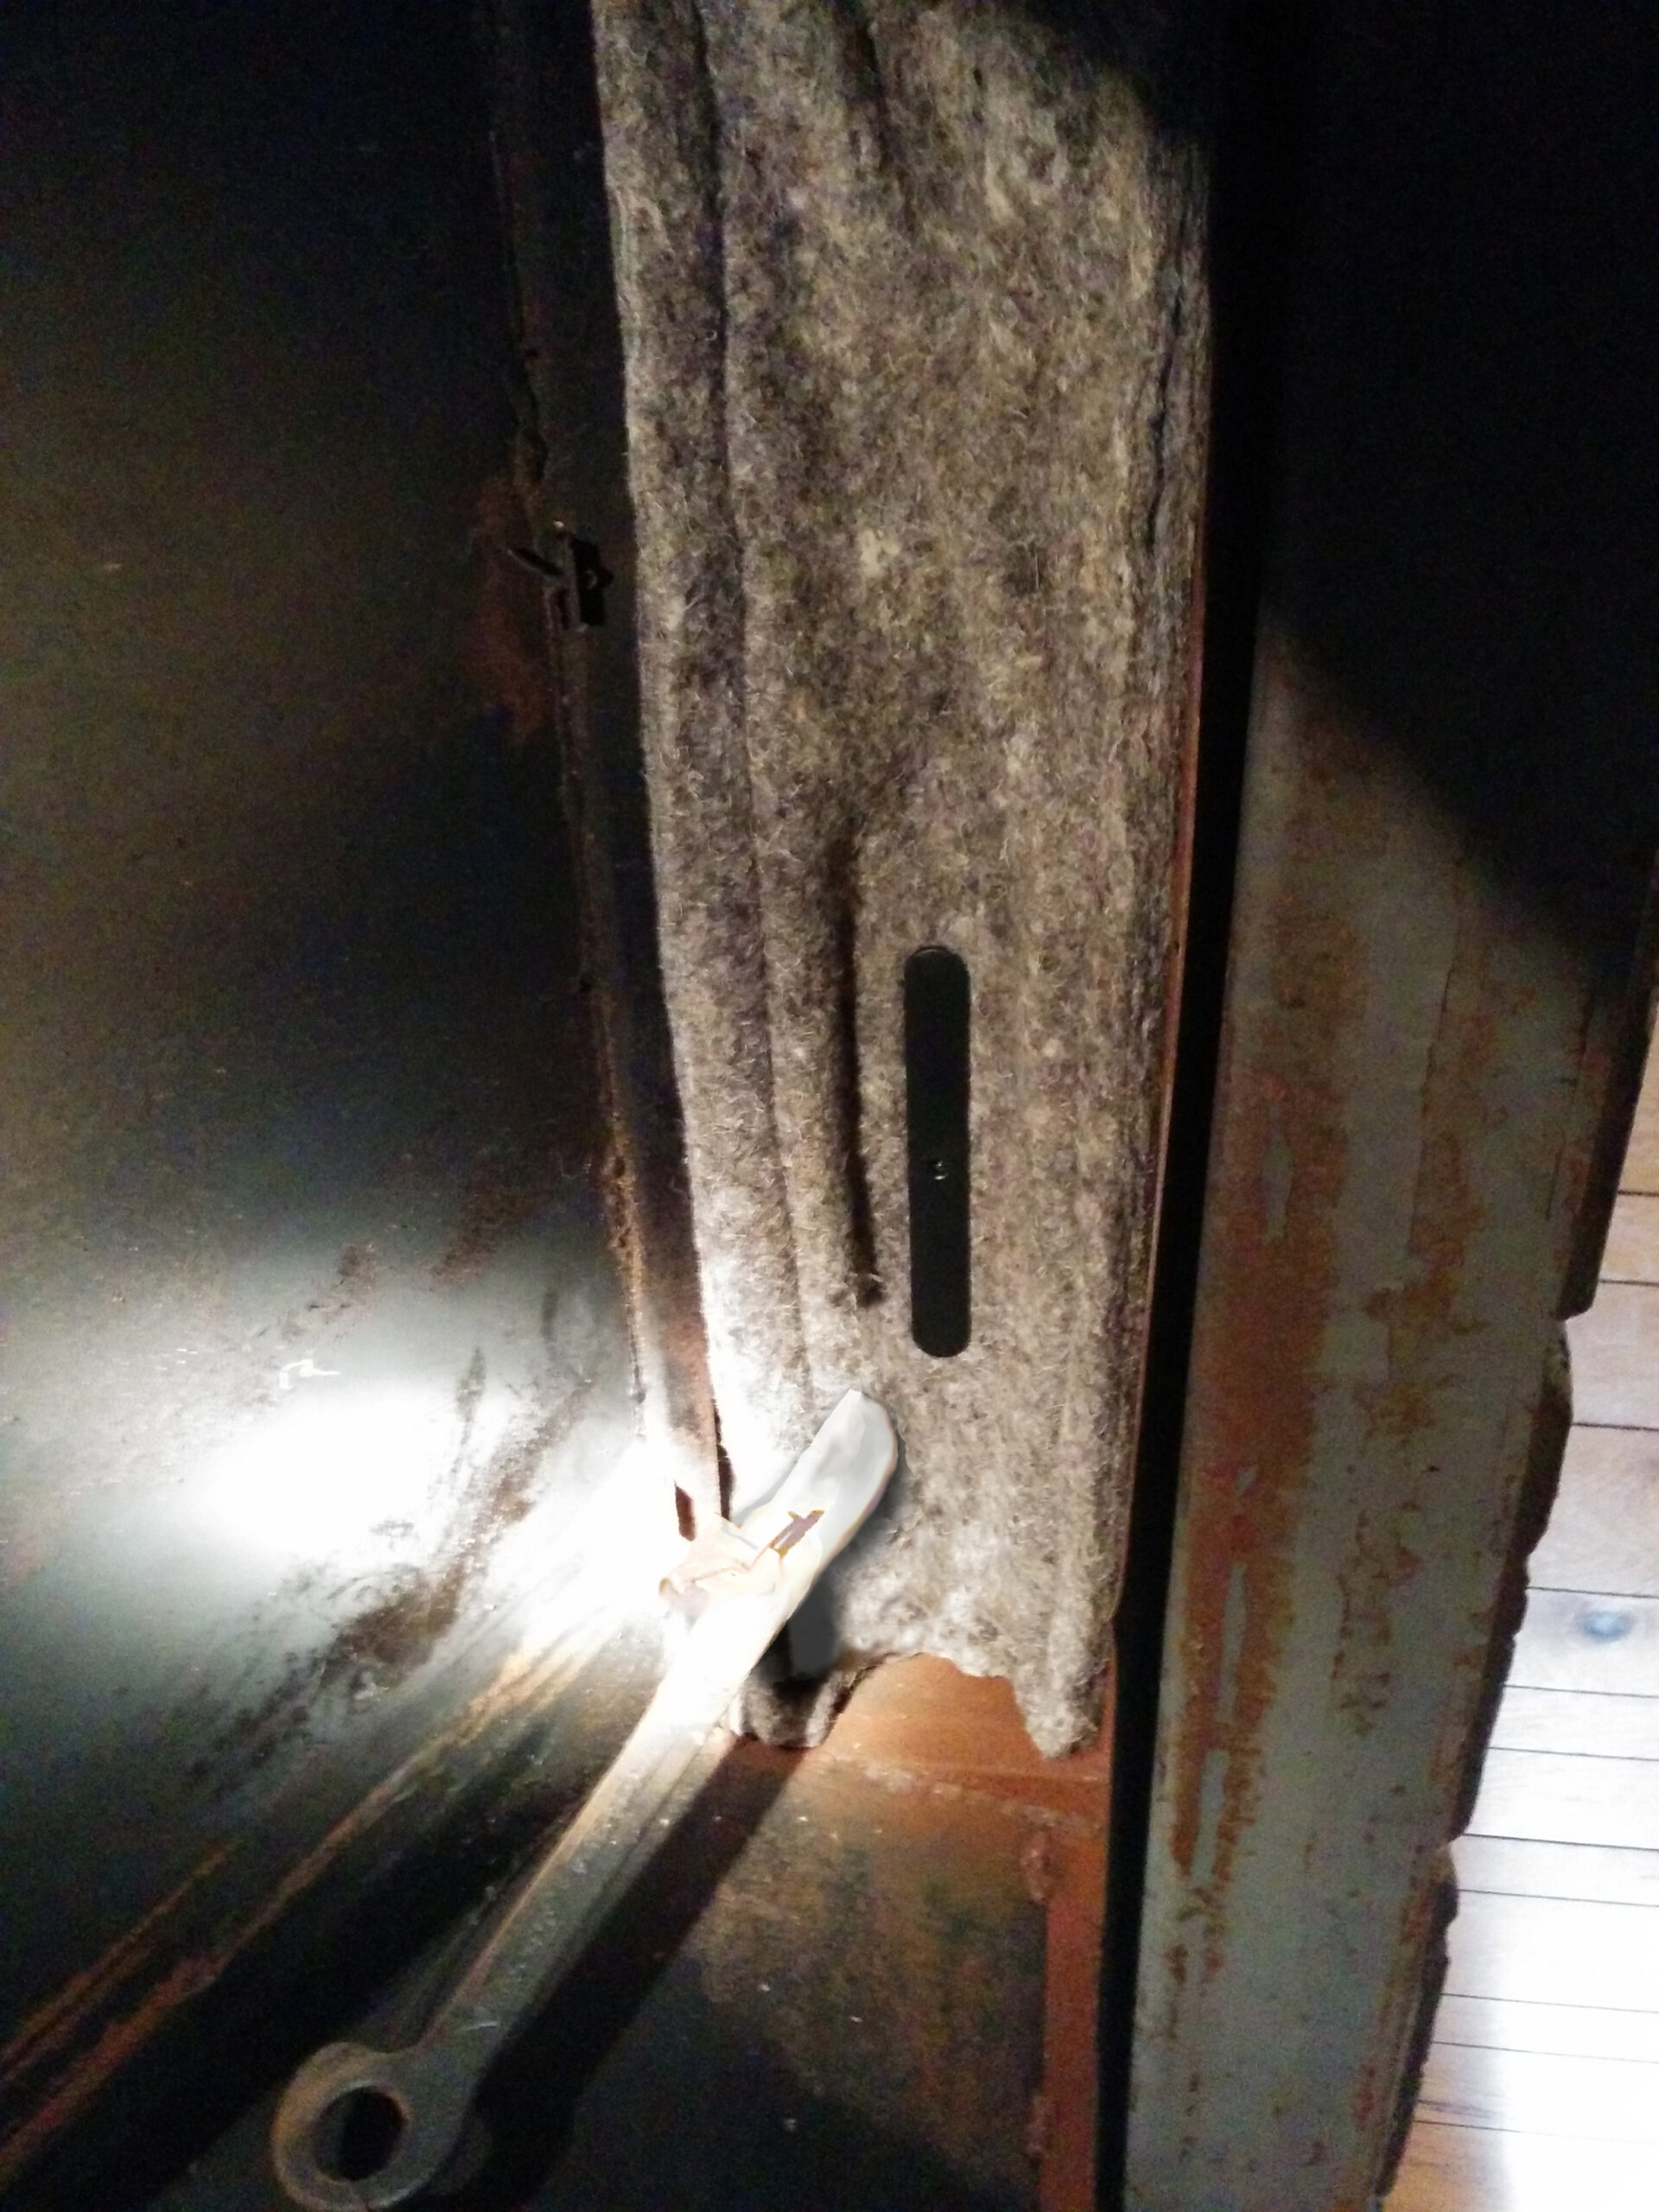
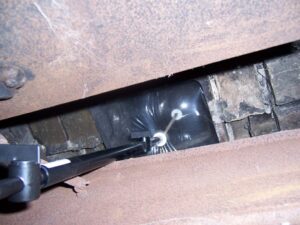
32-2 Flueblocker cut for damper handle
Fireplace #32: Welded Side Handle Damper
These Welded Handle Dampers are very common in masonry fireplaces of solid brick or stone. These are their characteristics:
- They have a long rectangular sheet-iron damper frame and matching door.
- The face of the damper door has a long straight handle welded onto it (image 32-1)
- The handle swings forward and back to open and close the damper.
- All of the damper hardware is welded or bolted, and is not removable.
- The damper door is almost straight vertical when closed.
Flueblocker is the best option
The Flueblocker seals and insulates very well. You can tuck it in the peaked area below the closed damper. (image 32-2)
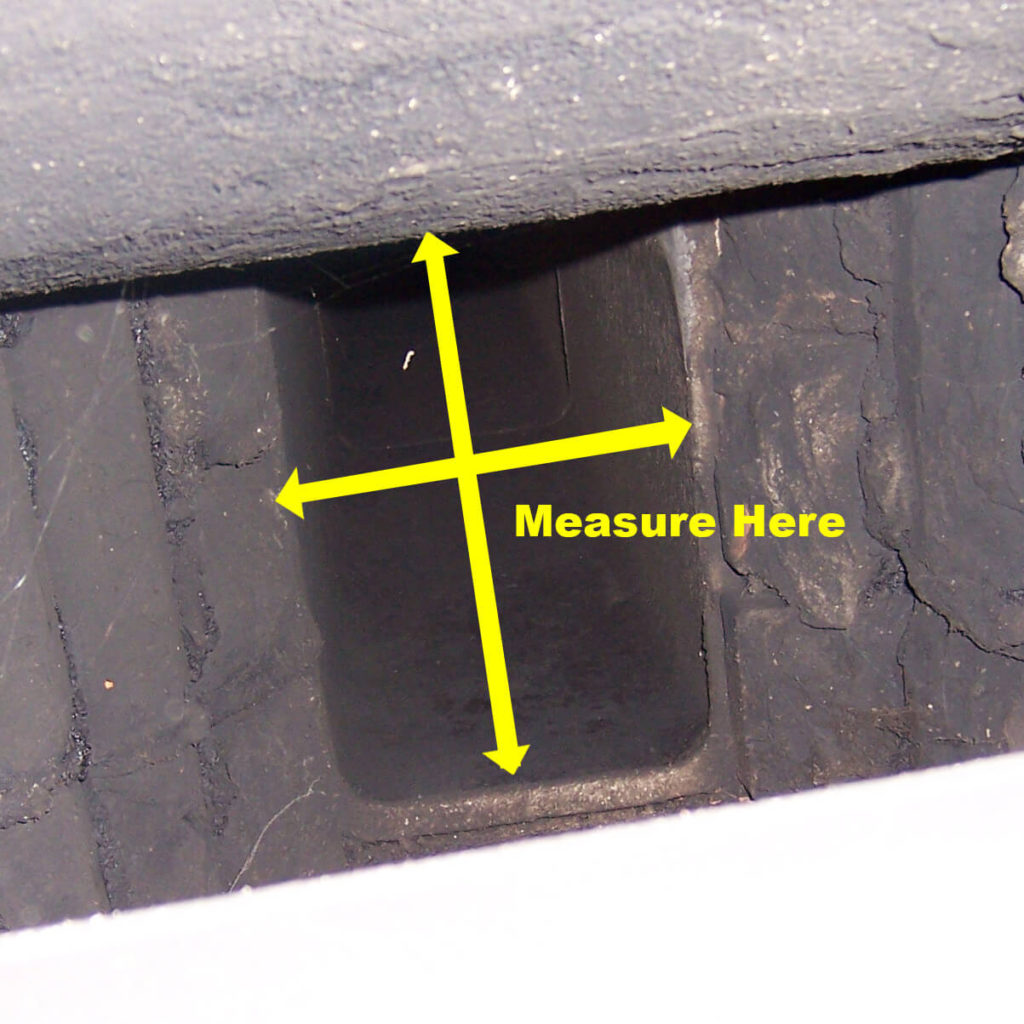
- Measure the length and depth of the peaked area below the damper door.
- Order a Flueblocker that is a a few inches larger in both dimensions.
- With the damper closed, press the Flueblocker into the space below the damper.
- Cut a slot in the Flueblockers wool pad to allow the damper handle to come down thru the pad. (Image 32-2)
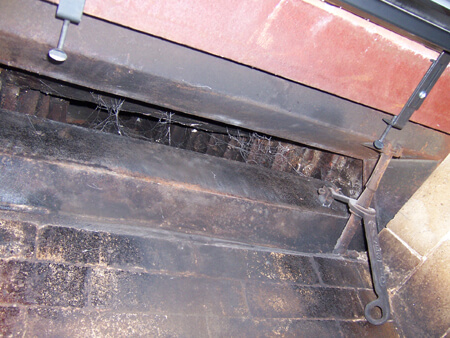


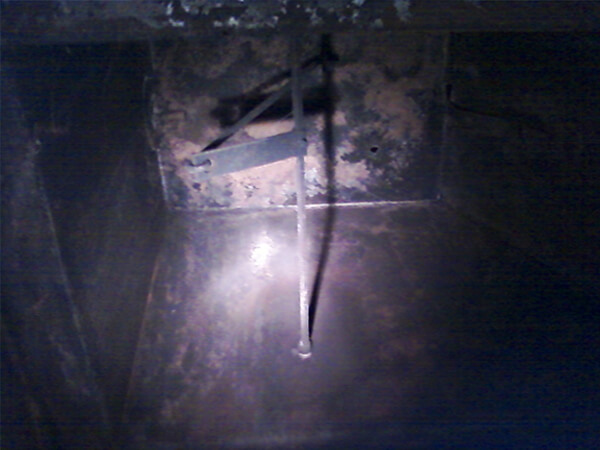

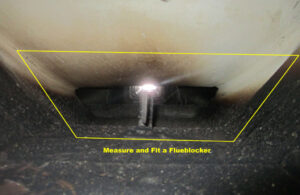 The Flueblocker can be easily fit into the area below the damper. It seals and insulates very well. You will have to remove the damper handle, or cut a slot in the Flueblocker to accommodate the handle, to fit the Flueblocker into the throat that leads to the damper. When you order a Flueblocker make sure it is at least as big as your largest measurements of the trapezoid. (see area marked in yellow)
 What about the Chimney Balloon?
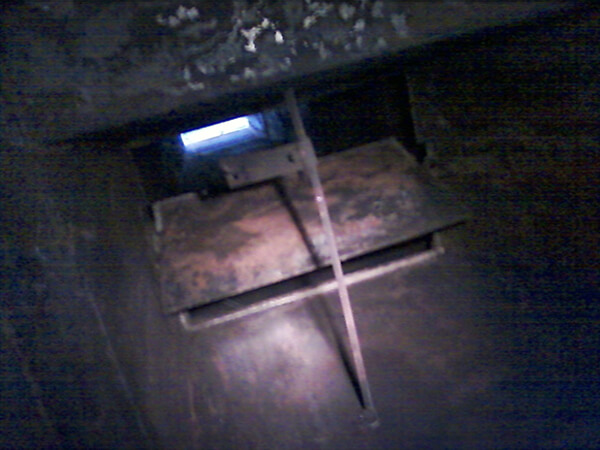
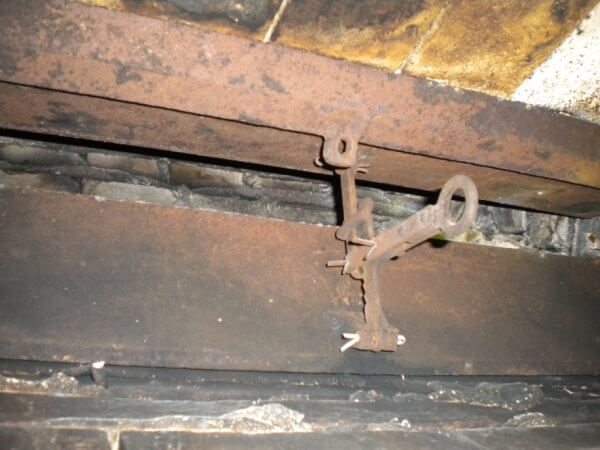

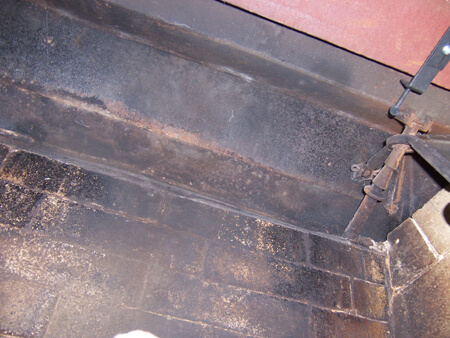
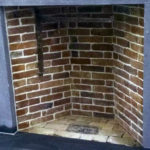
 If you are lucky enough to have a low flue tile like this photo, you can use a