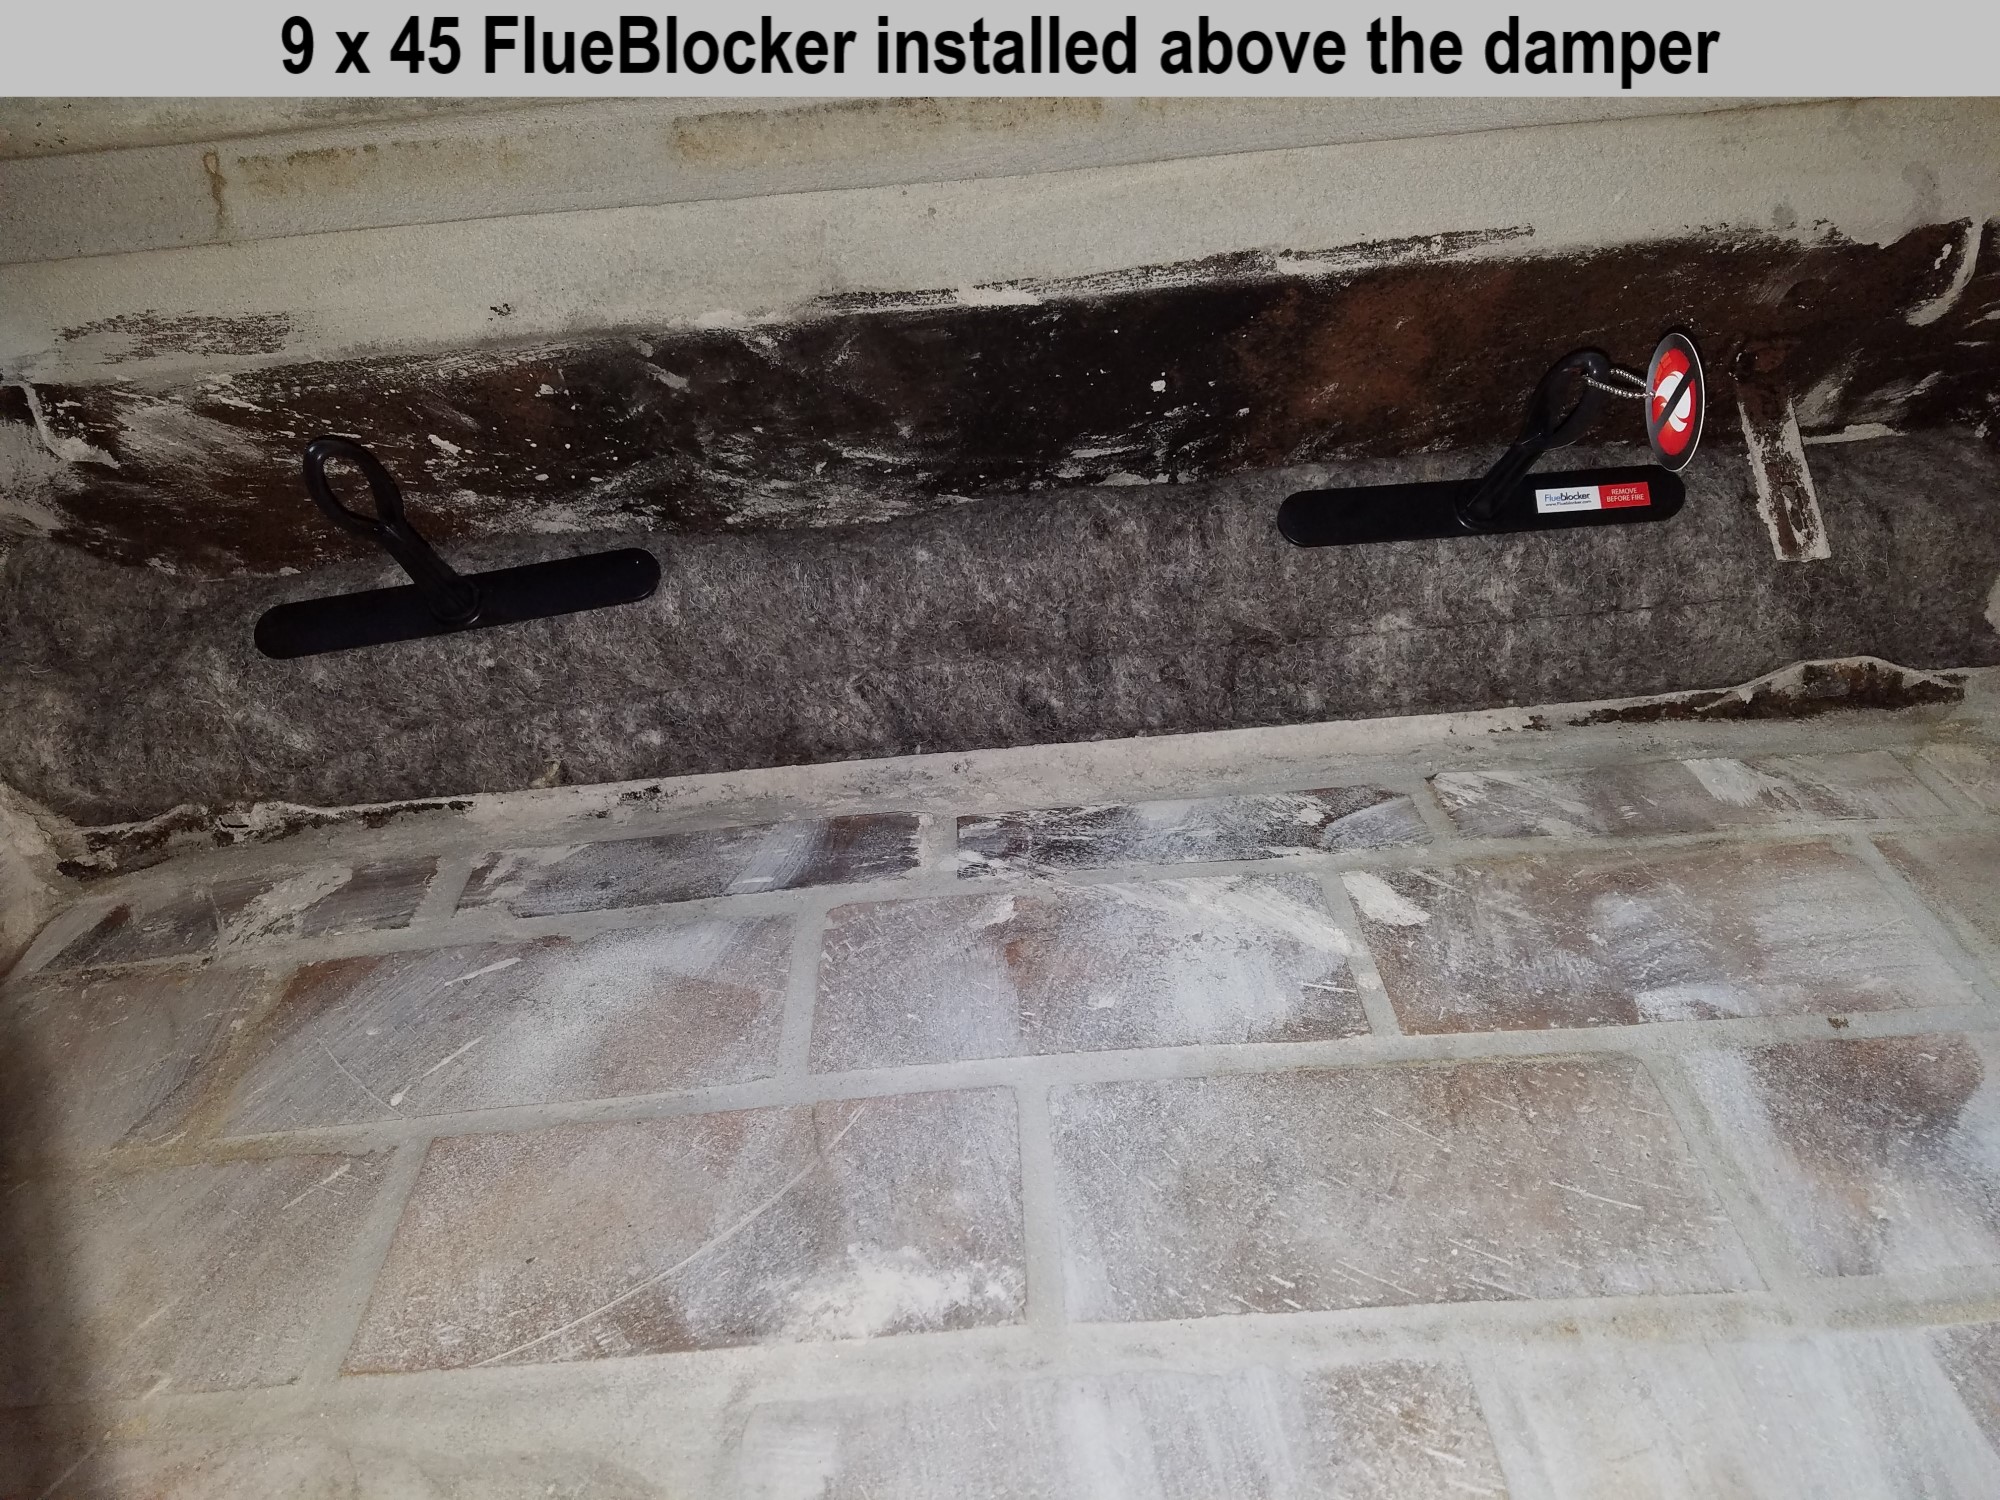
#51: I Have a Long Rectangular Center-Pivot Damper with Chains Hanging Down. How Do I Plug the Flue?

#51: I Have a Long Rectangular Center-Pivot Damper with Chains Hanging Down. How Do I Plug the Flue?

#51: I Have a Long Rectangular Center-Pivot Damper with Chains Hanging Down. How Do I Plug the Flue?

Fireplace #51: Long Rectangle Center-Pivot Damper with Chains

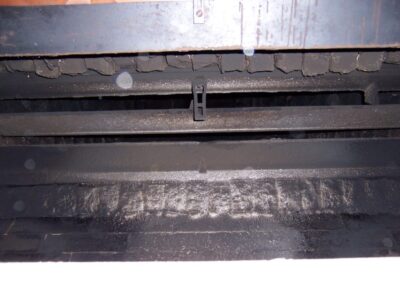
These long center-pivot (butterfly) rectangular dampers are rare. They are usually in custom masonry fireplaces of solid construction brick or stone. They come in a variety of sizes. These are their characteristics of the long rectangle butterfly chain dampers:

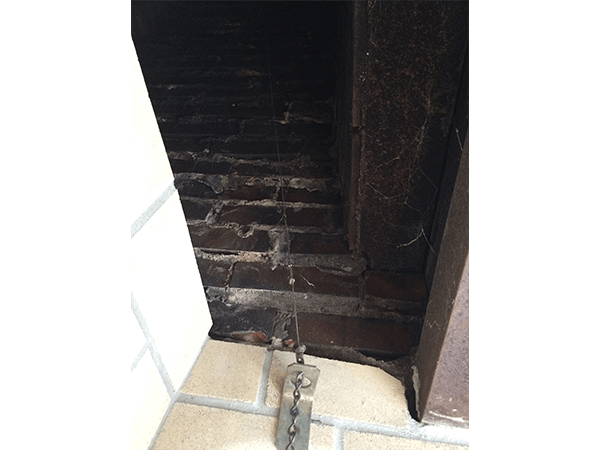
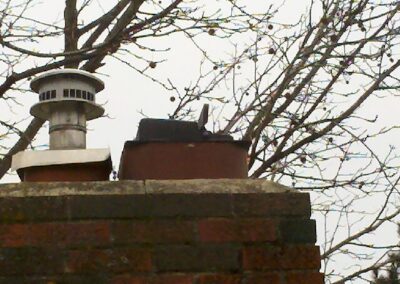
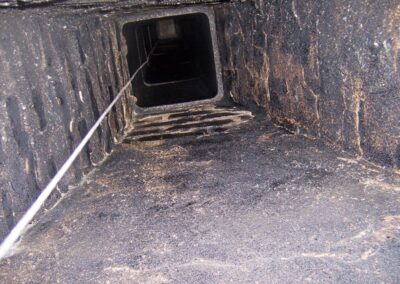
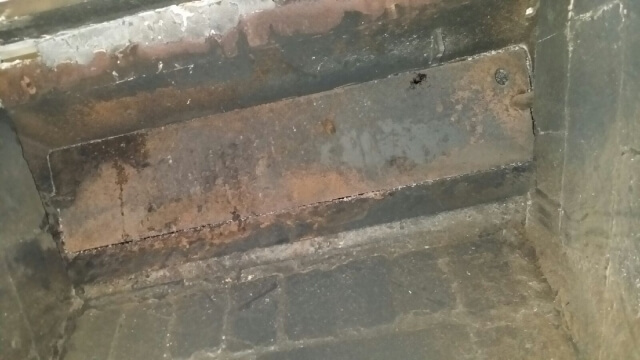
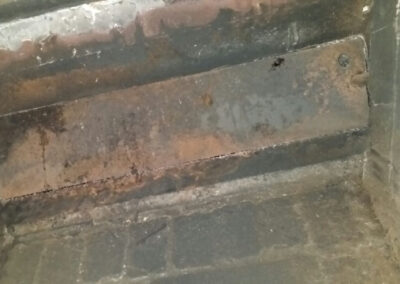
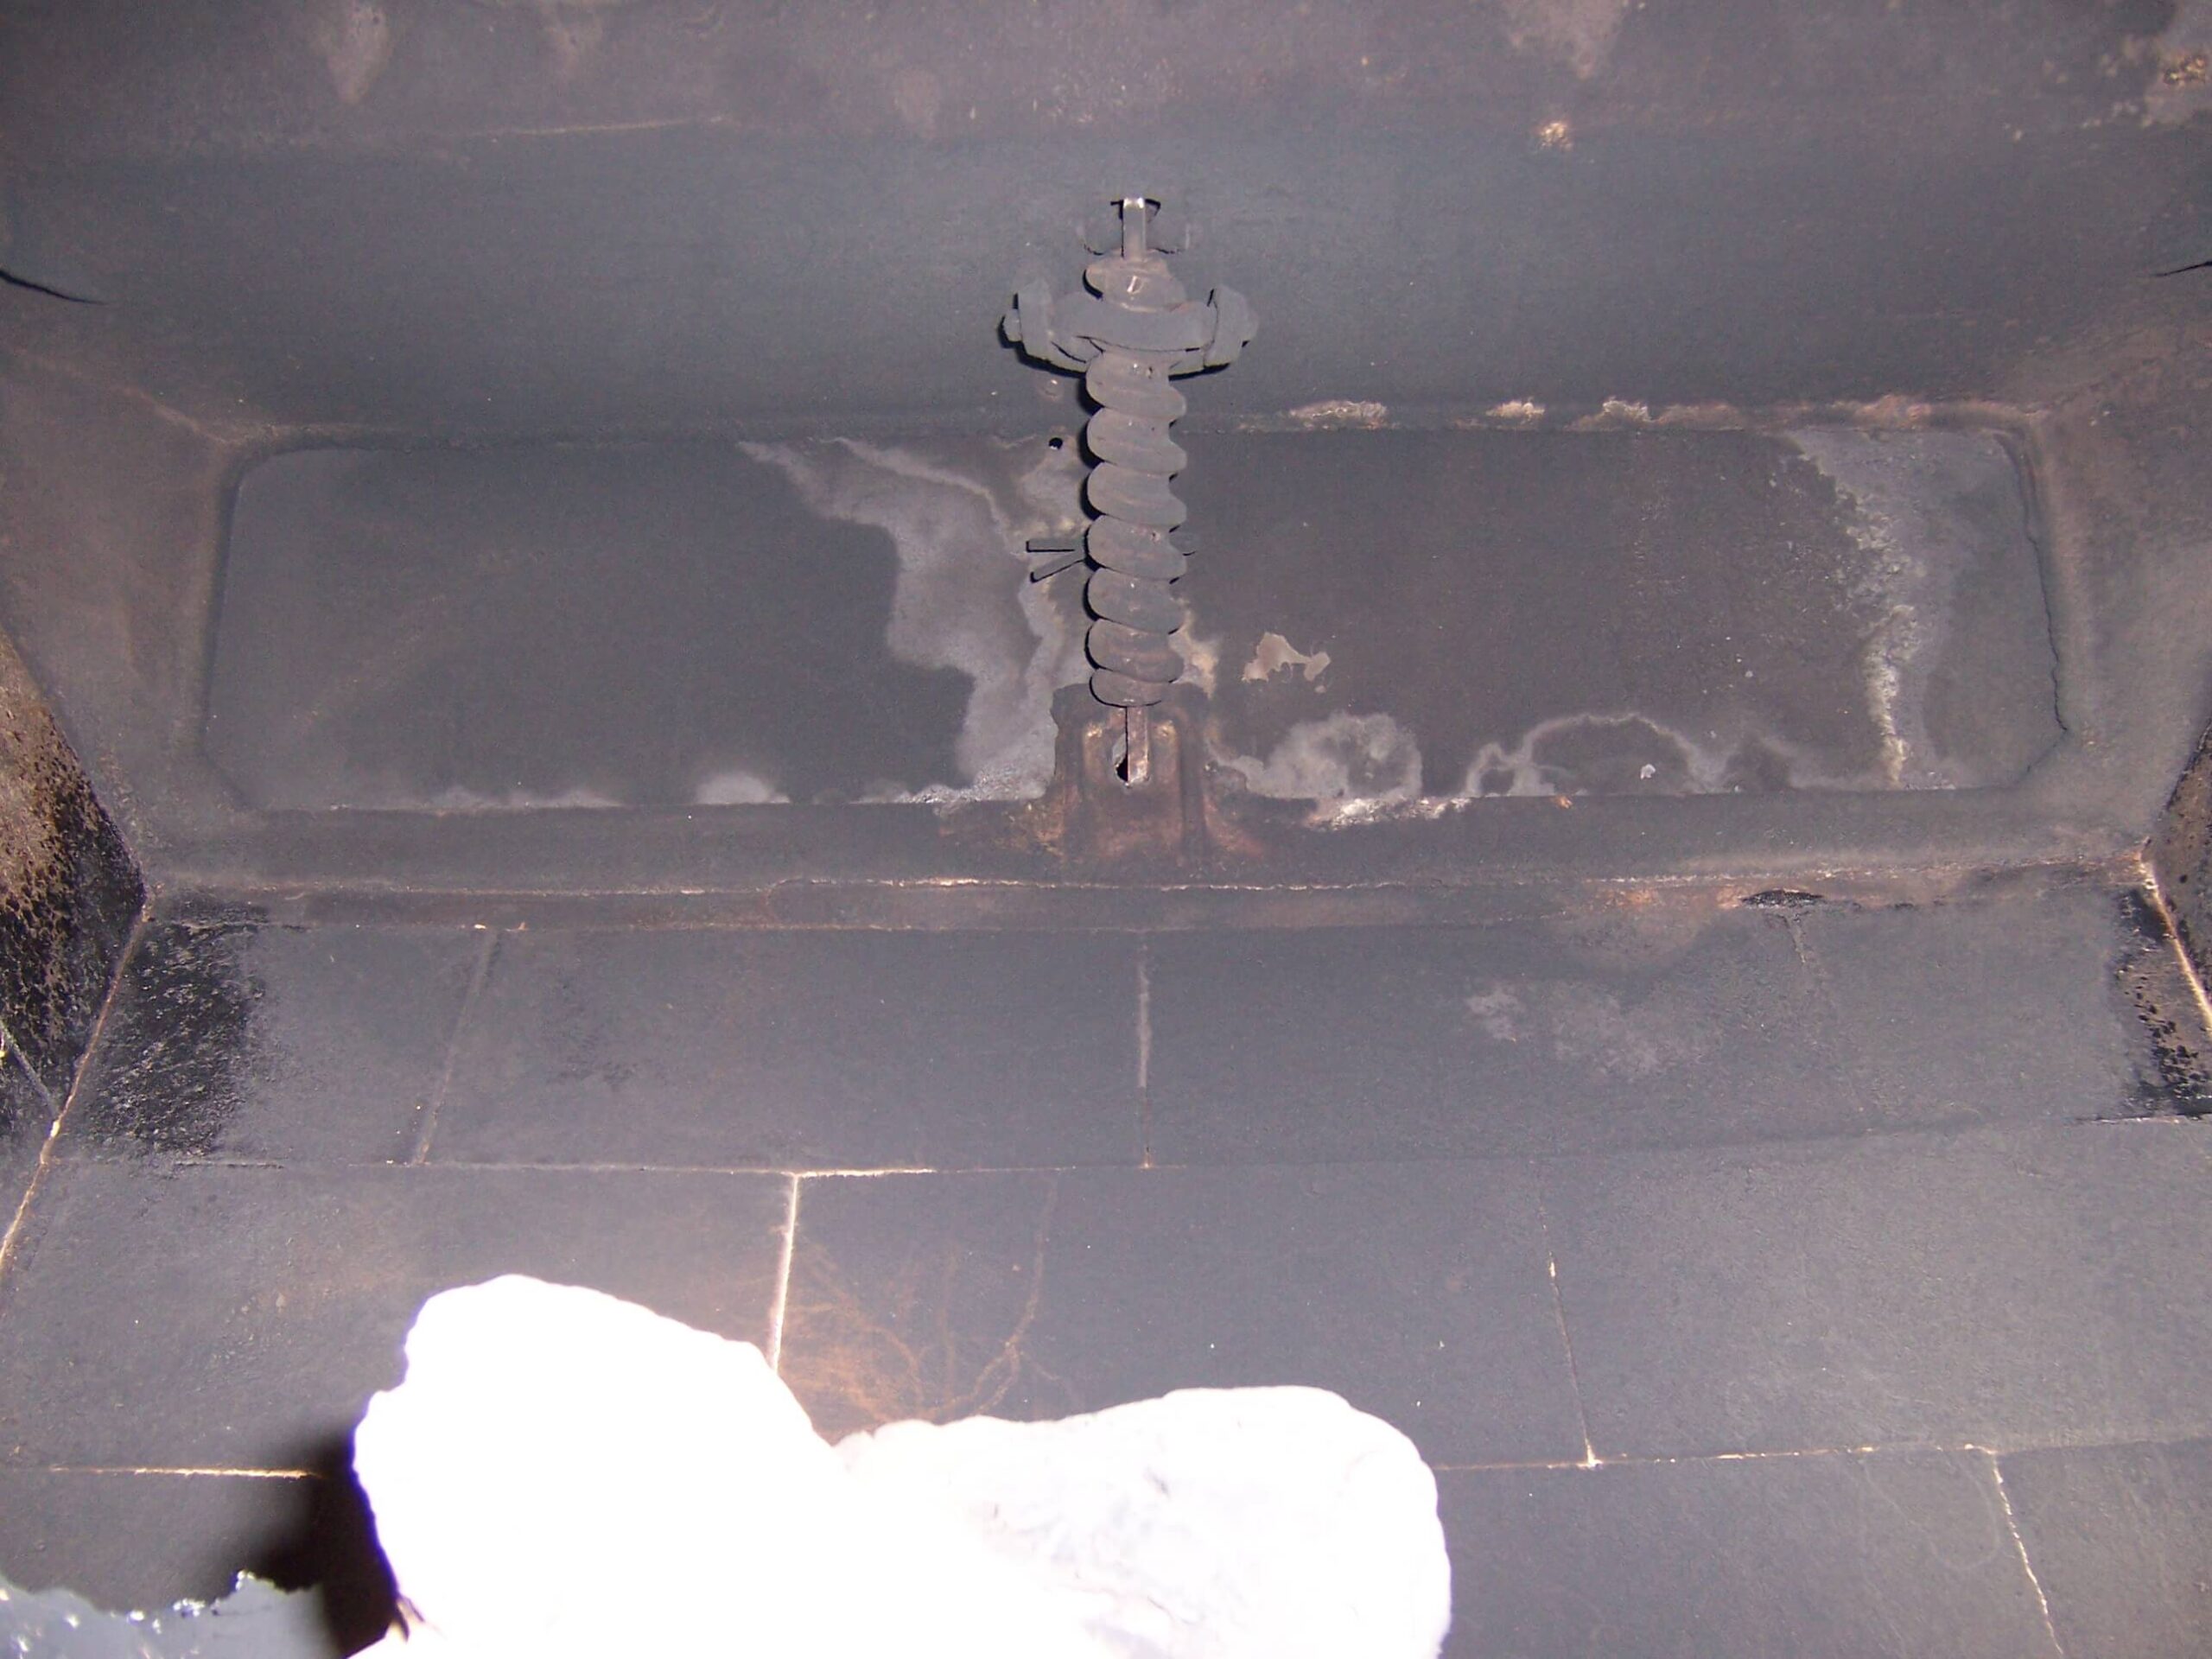
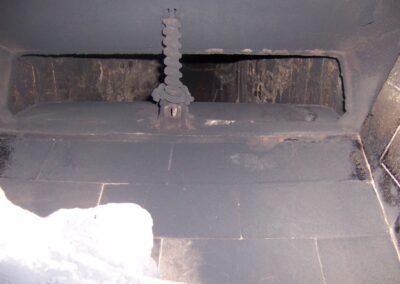
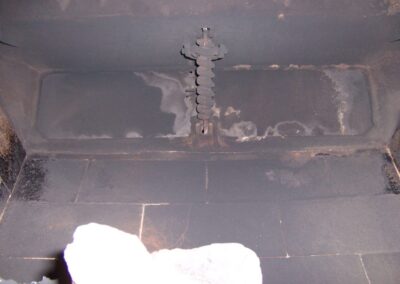
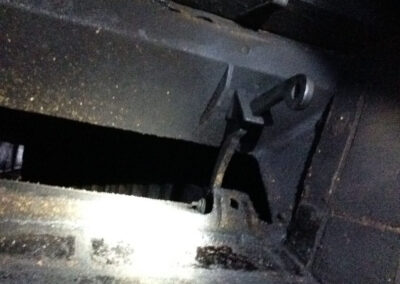
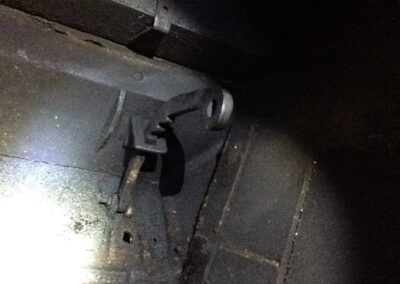
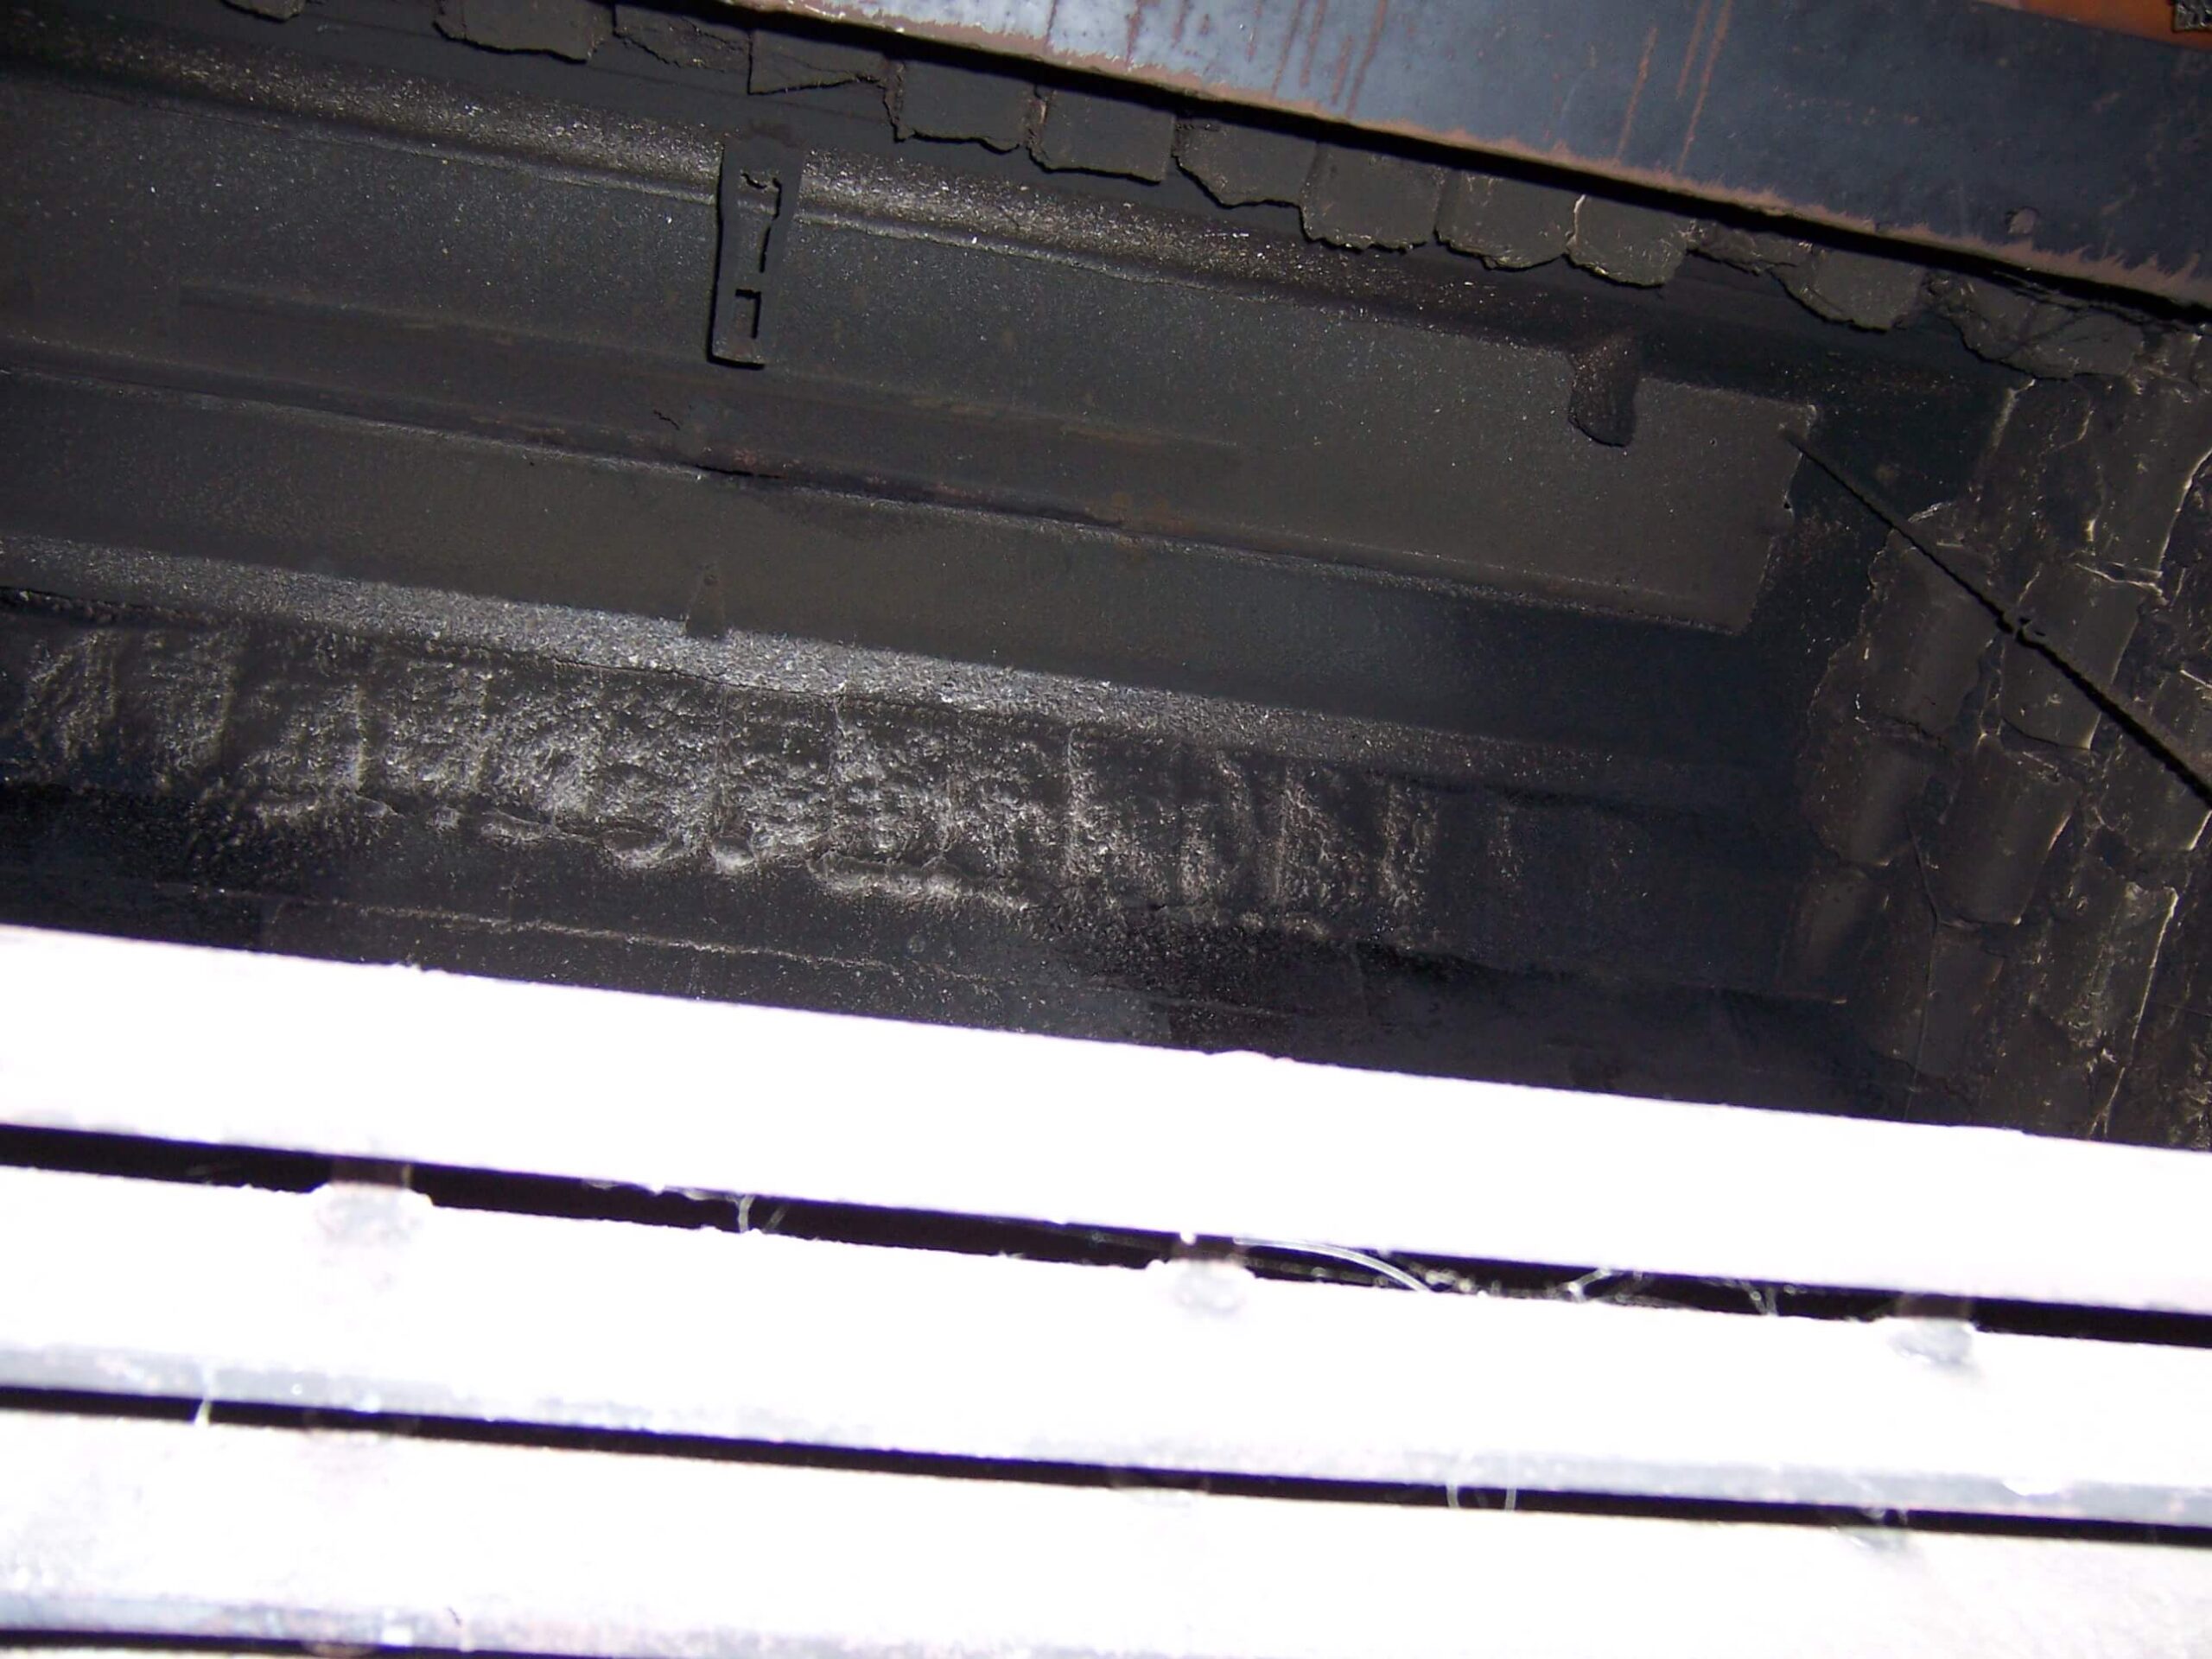
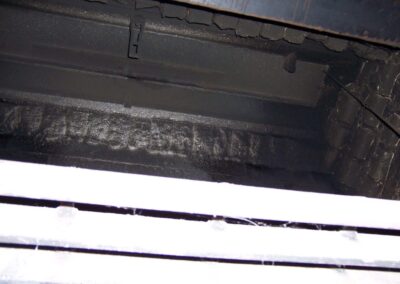
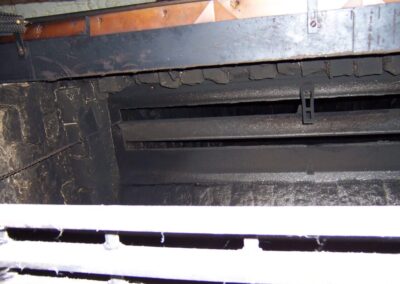
  • They have a long rectangular damper door that pivots on a center shaft. (image 51-1 and 51-2)
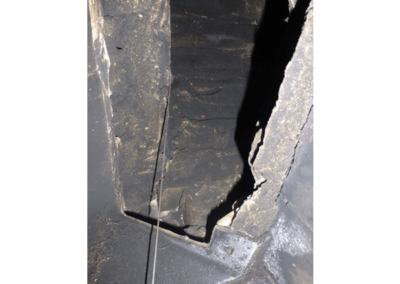
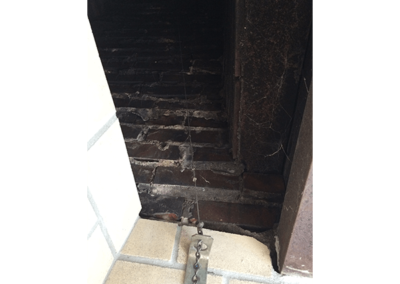
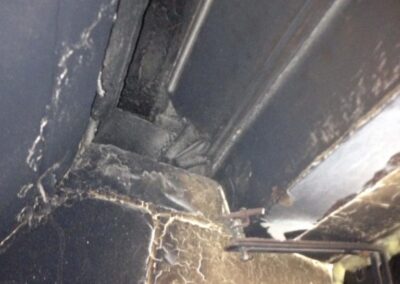
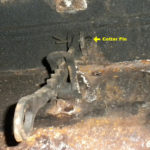
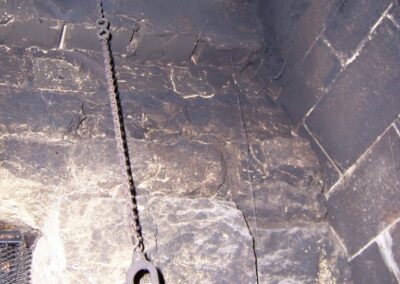
  • The door is opened and closed by a pair of chains attached to the face of the damper door (image 51-3). They hang down on the left and right side of the firebox.
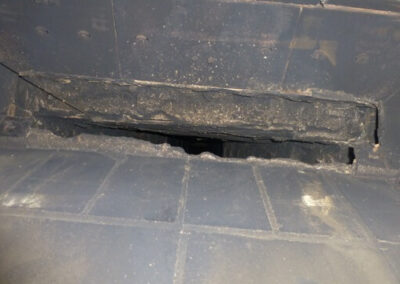
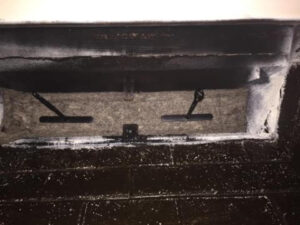
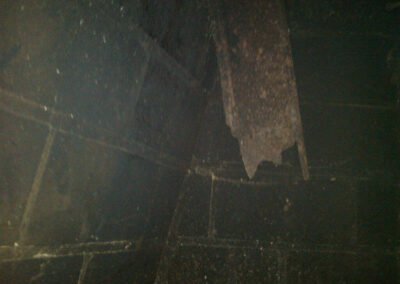
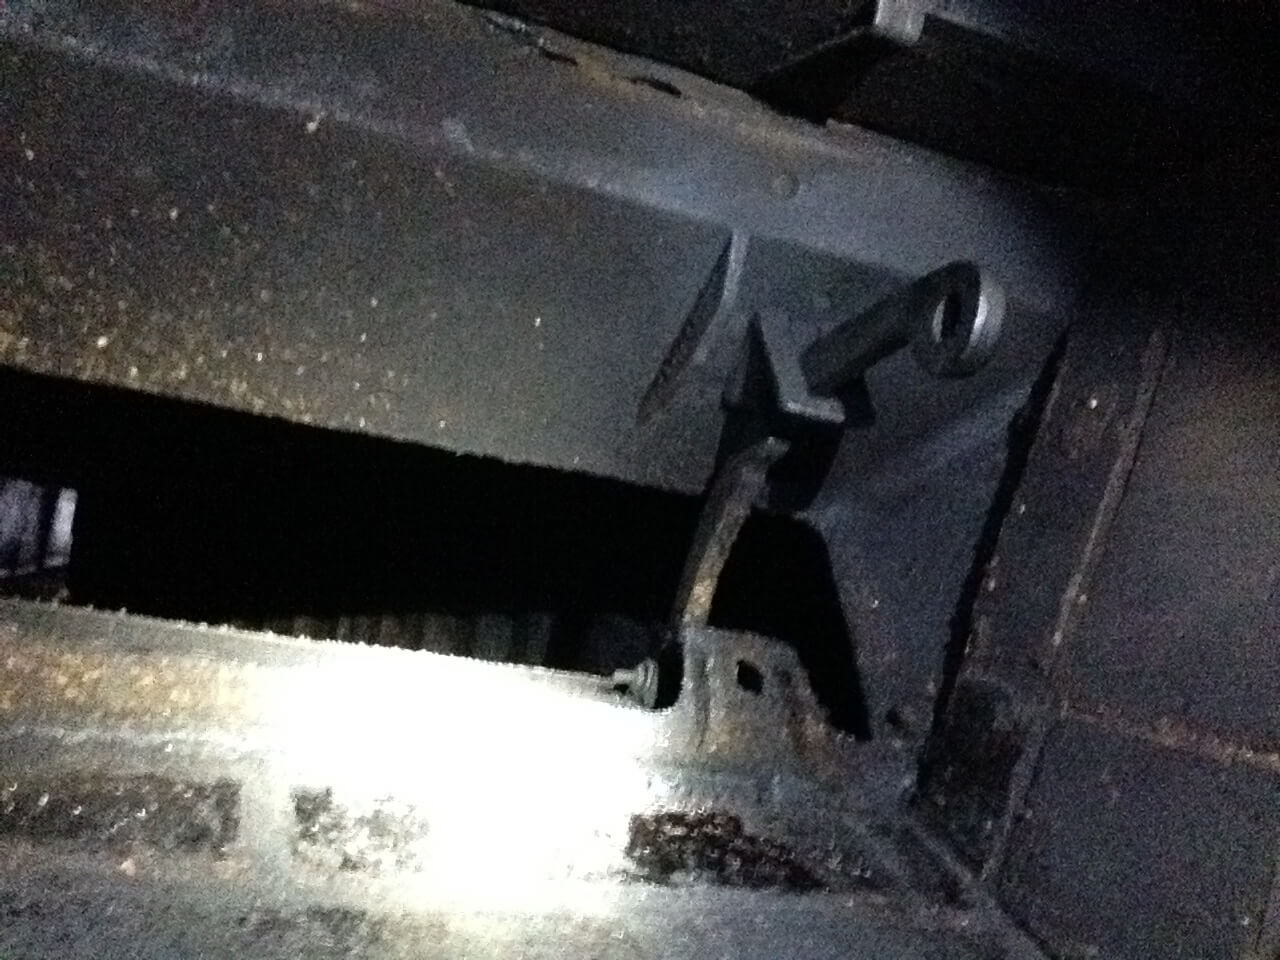
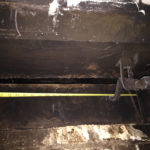
  • The damper frame is narrow and the damper pivots on a center shaft. When the damper is open there is very little access to the smoke shelf or flue tile above the damper (image 51-4).
  • There is usually 2″ to 9″ of uninterrupted vertical space under the damper before the lintel opens to the room.

Because of the limited access above the damper. We will focus on products that install below the damper.

The Flueblocker is a durable option
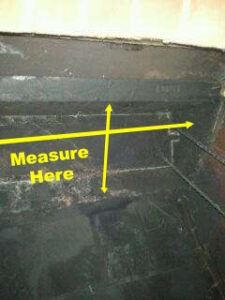
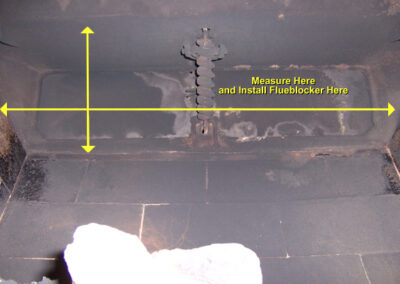
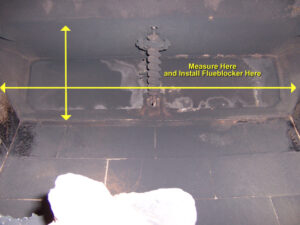
51-6 Where to Measure for a Flueblocker

The Flueblocker is the best solution for this application, since the chains below the damper door can easily be pressed to the side of the firebox. Here is how a Flueblocker is installed:

  • Measure the wall to wall area left to right, and front to back below the damper (see yellow arrows in image 51-6). Then buy a Flueblocker that is a few inches bigger. If it is a really large area you may have to contact us for a custom size quote.
  • Tuck the Flueblocker into the area you had measured. If it is over-sized, it may bow upward a bit from the pressure fit, or you can trim it to fit with sharp scissors.
  • Remove the Flueblocker before you have a fire.


What about the Chimney Balloon?
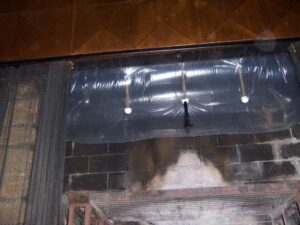
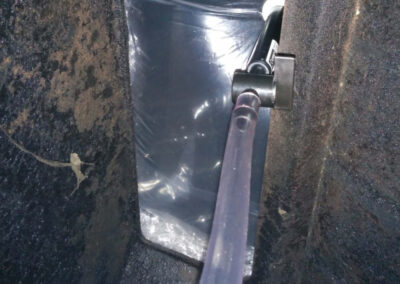
51-7 Looking Up At a Chimney Balloon Below a Chain Damper

51-7 Looking Up At a Chimney Balloon Below a Chain Damper

You can use a Chimney Balloon to plug the wall to wall area below a damper like this. There has to be at least 9″ of vertical space below the damper to fit the balloon in (image 51-7). Measure wall to wall left to right and front to back below the damper and buy a Chimney Balloon that is slightly larger than that. For example, if you measure 34×13 then buy a 36×15 Chimney Balloon. When you inflate the Chimney Balloon in place it may bulge below the lintel a bit and be visible from the room. The Chimney Balloon will require a top-off of air each 6 to 12 months, and it is not quite as durable as non-inflatable plugs. So consider it a “Plan B” for this application.
#50: I Have a Chimney Top Damper with a Cable Coming Down. How do I Plug the Flue?

#50: I Have a Chimney Top Damper with a Cable Coming Down. How do I Plug the Flue?

#50: I Have a Chimney Top Damper with a Cable Coming Down. How do I Plug the Flue?

#41: I Have a Damper with No Handle or Opener. How Do I Plug the Flue?

#41: I Have a Damper with No Handle or Opener. How Do I Plug the Flue?

#41: I Have a Damper with No Handle or Opener. How Do I Plug the Flue?

Fireplace #41: Damper with No Handle or Opening Hardware

If you look up and see a damper that has no handle and there is no opening and closing apparatus at all inside or outside of the fireplace a few things are possible:

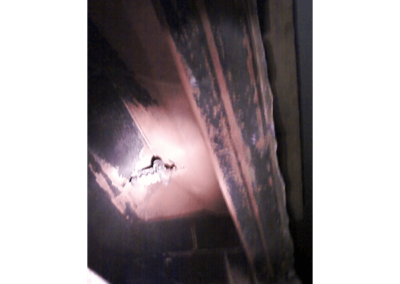
  1. There use to be a damper handle or mechanism, but it broke or rusted out. (image 41-3)
  2. There never was a handle and this damper is just designed to be opened by hand. (image 41-1)

In both of these cases, I would not trust this metal damper. This is why: Imagine you open that damper by hand, start a fire in the fireplace, and then leave the room to go to the bathroom, or make a sandwich, or whatever… While you are gone the gradual heating and expansion of the damper causes it to fall closed. This damper very possibly could be missing the counterweight or mechanical apparatus that generally holds it open. So this is a likely scenario. Now your home is filling with smoke and fumes from the closed damper, and you have to rush to figure out how to get in the flaming-hot firebox and flip the damper open again.

The Flueblocker below the damper

The Flueblocker is the best solution for this application, since there is no damper hardware to contend with. Here is how a Flueblocker is installed:

  • Measure the wall to wall area left to right, and front to back below the damper (image 41-4).
  • Buy a Flueblocker that is the proper size or a few inches large. You can trim it to size with scissors if needed. If you don’t find the size you need in our standard sizes contact us for a custom quote.
  • Tuck the Flueblocker into the area you had measured. If it is over-sized, it may bow upward a bit from the pressure fit.

#40: I Have a Fireplace with a Twist-Knob on the Face of the Fireplace. How Do I Plug the Flue?

#40: I Have a Fireplace with a Twist-Knob on the Face of the Fireplace. How Do I Plug the Flue?

#40: I Have a Fireplace with a Twist-Knob on the Face of the Fireplace. How Do I Plug the Flue?

 Fireplace #40: Vestal Damper with Worm Gear Twist-Knob

These twist-handle worm gear actuated Vestal dampers are very common in masonry fireplaces of solid construction brick or stone. They come in a variety of sizes. The mechanical worm gear shaft of this damper has a tendency to jam or break. This locks up the damper door and makes access to the area above the damper difficult. These are their characteristics of the worm gear twist-handle Vestal dampers:

  • They have a rectangular cast iron damper door that can be 24″ to 45″ long. (image 40-1)
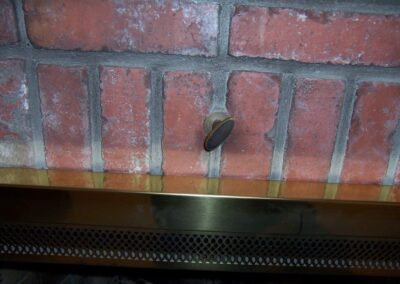
  • The door is opened and closed by a twist knob on the lintel face of the fireplace. (image 40-3)
  • There is usually 5″ to 9″ of uninterrupted vertical space under the damper before the lintel opens to the room. (image 40-4)

Because of the propensity for this damper to jam closed. We will focus on products that install below the damper.

The Flueblocker covers the whole damper and worm gear

The Flueblocker is the best solution for this application, since the damper hardware below the damper door is not protruding down into the firebox. Here is how a Flueblocker is installed:

  • Measure the wall to wall area left to right, and front to back below the damper (see yellow arrows). Then buy a Flueblocker that is a few inches bigger. If it is a really large area you may have to contact us for a custom size quote.
  • Tuck the Flueblocker into the area you had measured. If it is over-sized, it may bow upward a bit from the pressure fit.
  • Remove the Flueblocker before you have a fire.

What about the Chimney Balloon?

You can use a Chimney Balloon to plug the wall to wall area below a damper like this. There has to be at least 9″ of vertical space below the damper to fit the balloon in (image 40-4). Measure wall to wall left to right and front to back below the damper and buy a Chimney Balloon that is slightly larger than that. For example, if you measure 34×13 then buy a 36×15 Chimney Balloon. The Chimney Balloon will require a top-off of air each 6 to 12 months, and it is not quite as durable as non-inflatable plugs. So consider it a “Plan B” for this application.
#33: I Have a Side Handle Vestal Damper. How Do I Plug the Flue?

#33: I Have a Side Handle Vestal Damper. How Do I Plug the Flue?

#33: I Have a Side Handle Vestal Damper. How Do I Plug the Flue?

If you want a tight seal, and don’t mind some maintenance, use a Chimney Balloon