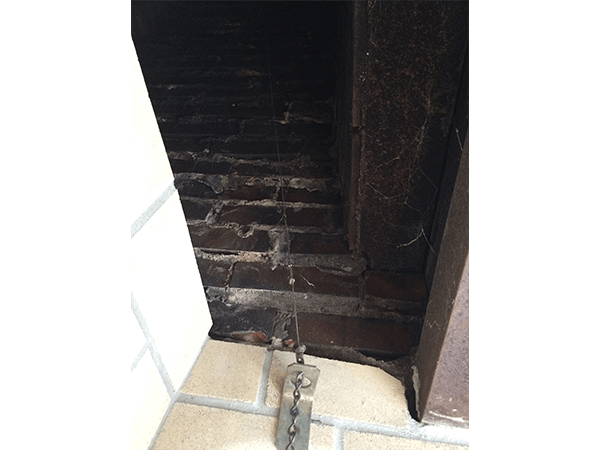
#51: I Have a Long Rectangular Center-Pivot Damper with Chains Hanging Down. How Do I Plug the Flue?
#51: I Have a Long Rectangular Center-Pivot Damper with Chains Hanging Down. How Do I Plug the Flue?
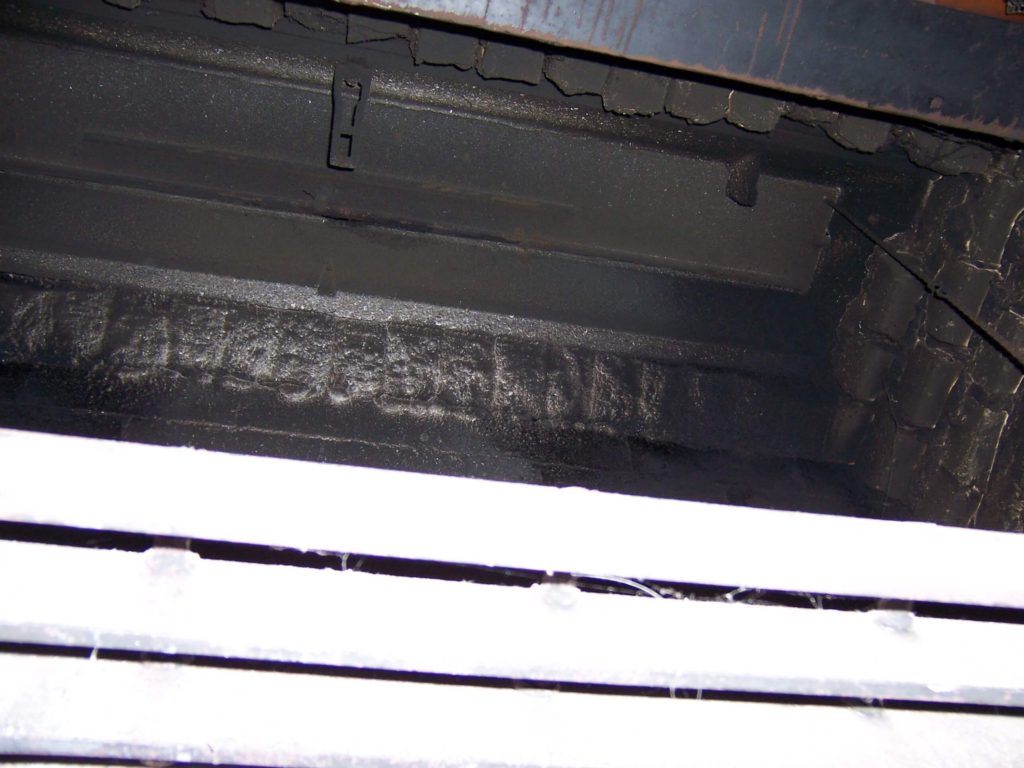
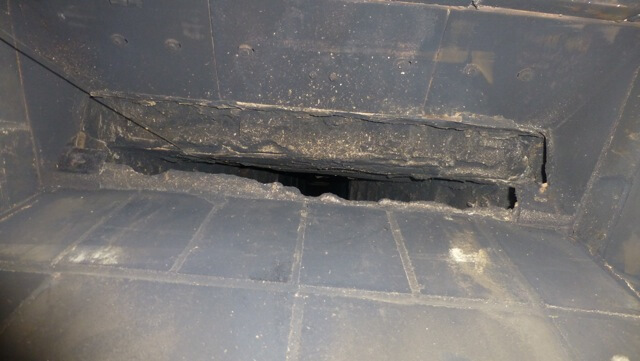
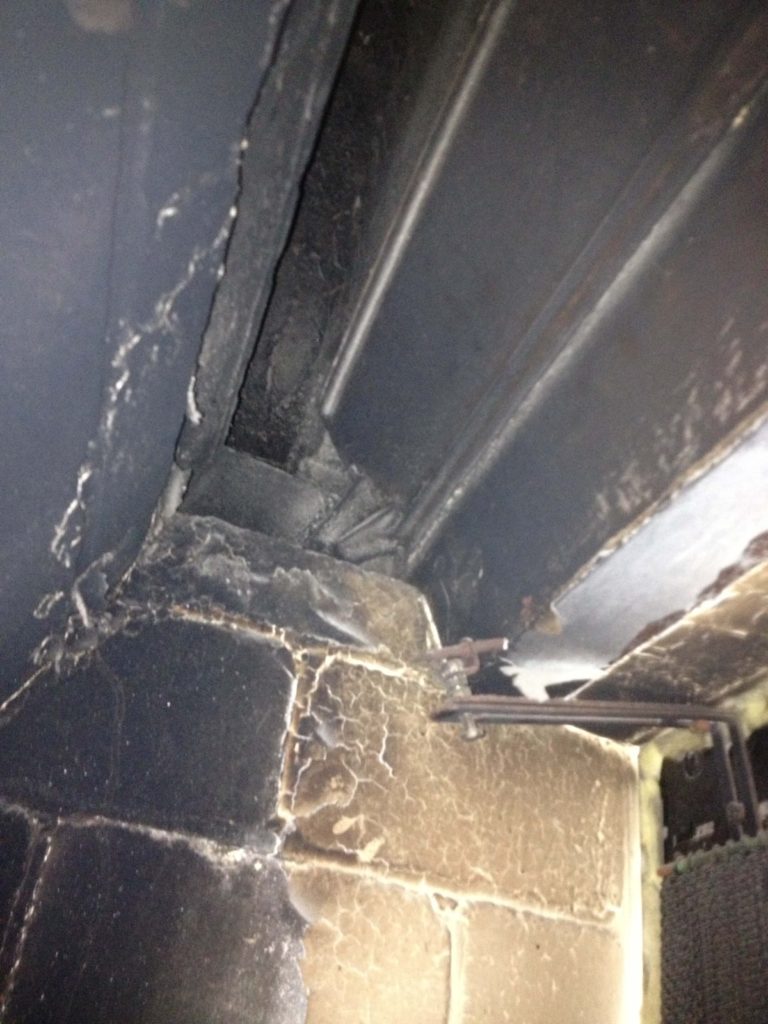
51-1 Closed Long Center-Pivot Chain Damper
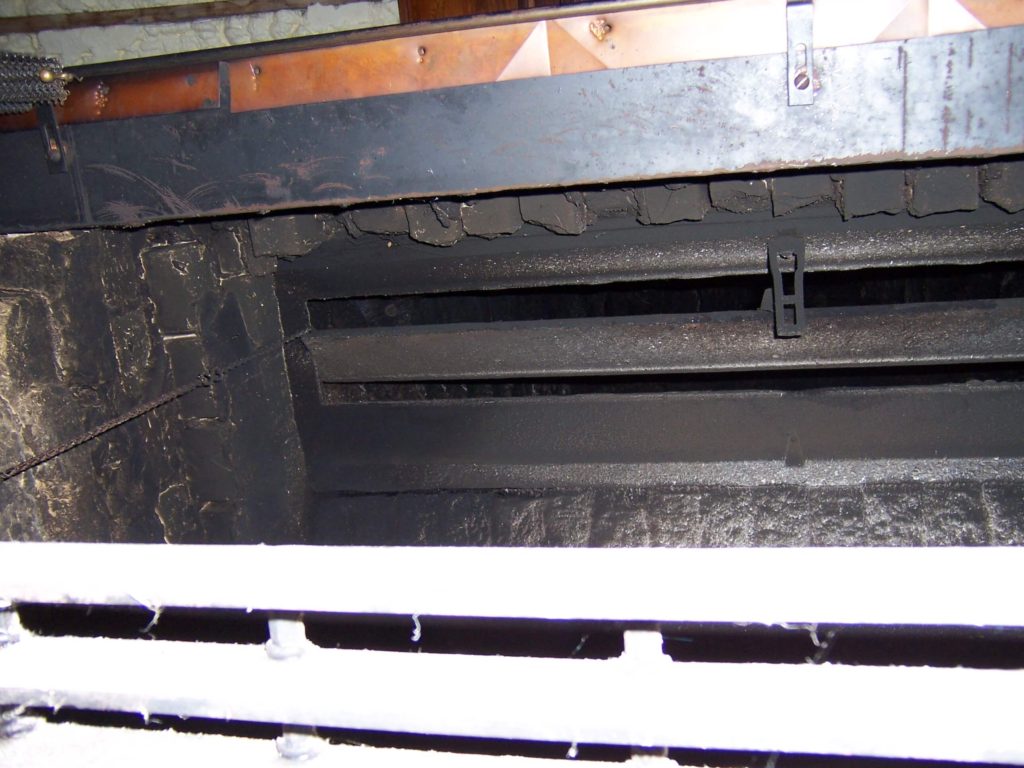
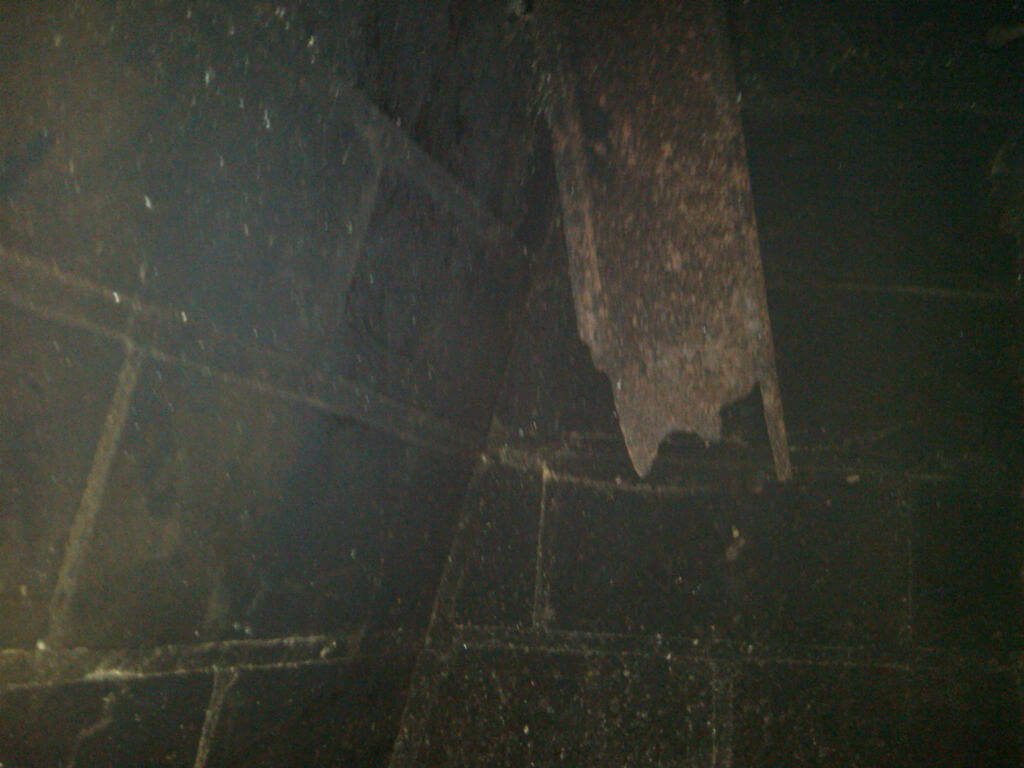
51-2 Open Long Center-Pivot Chain Damper

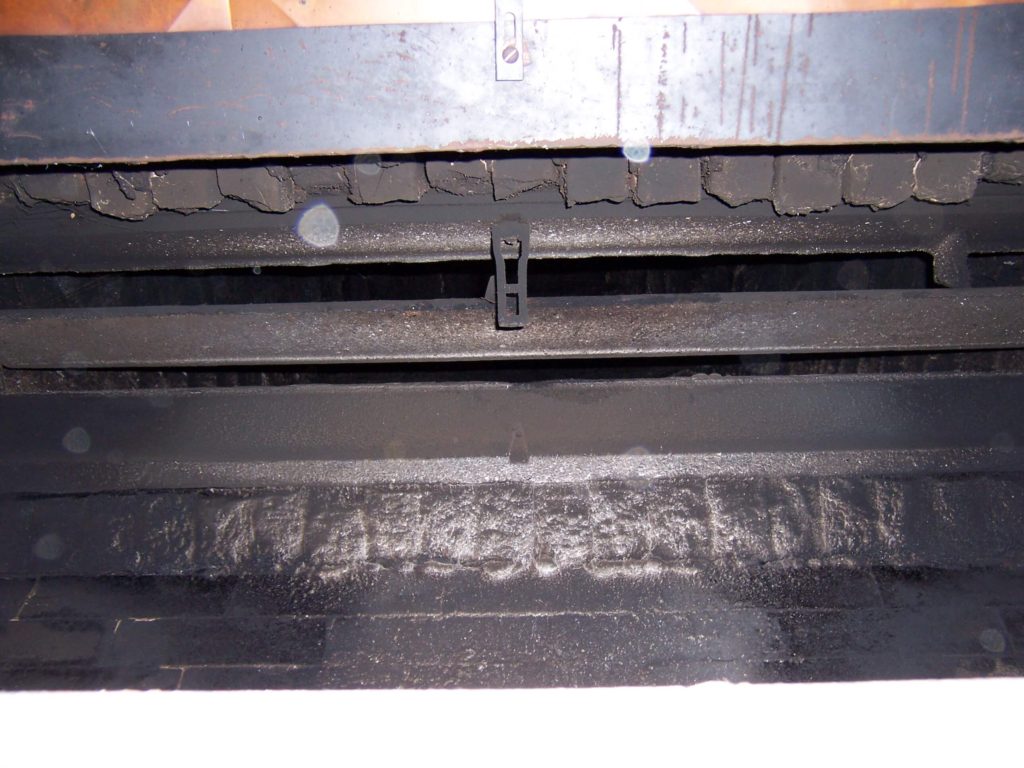
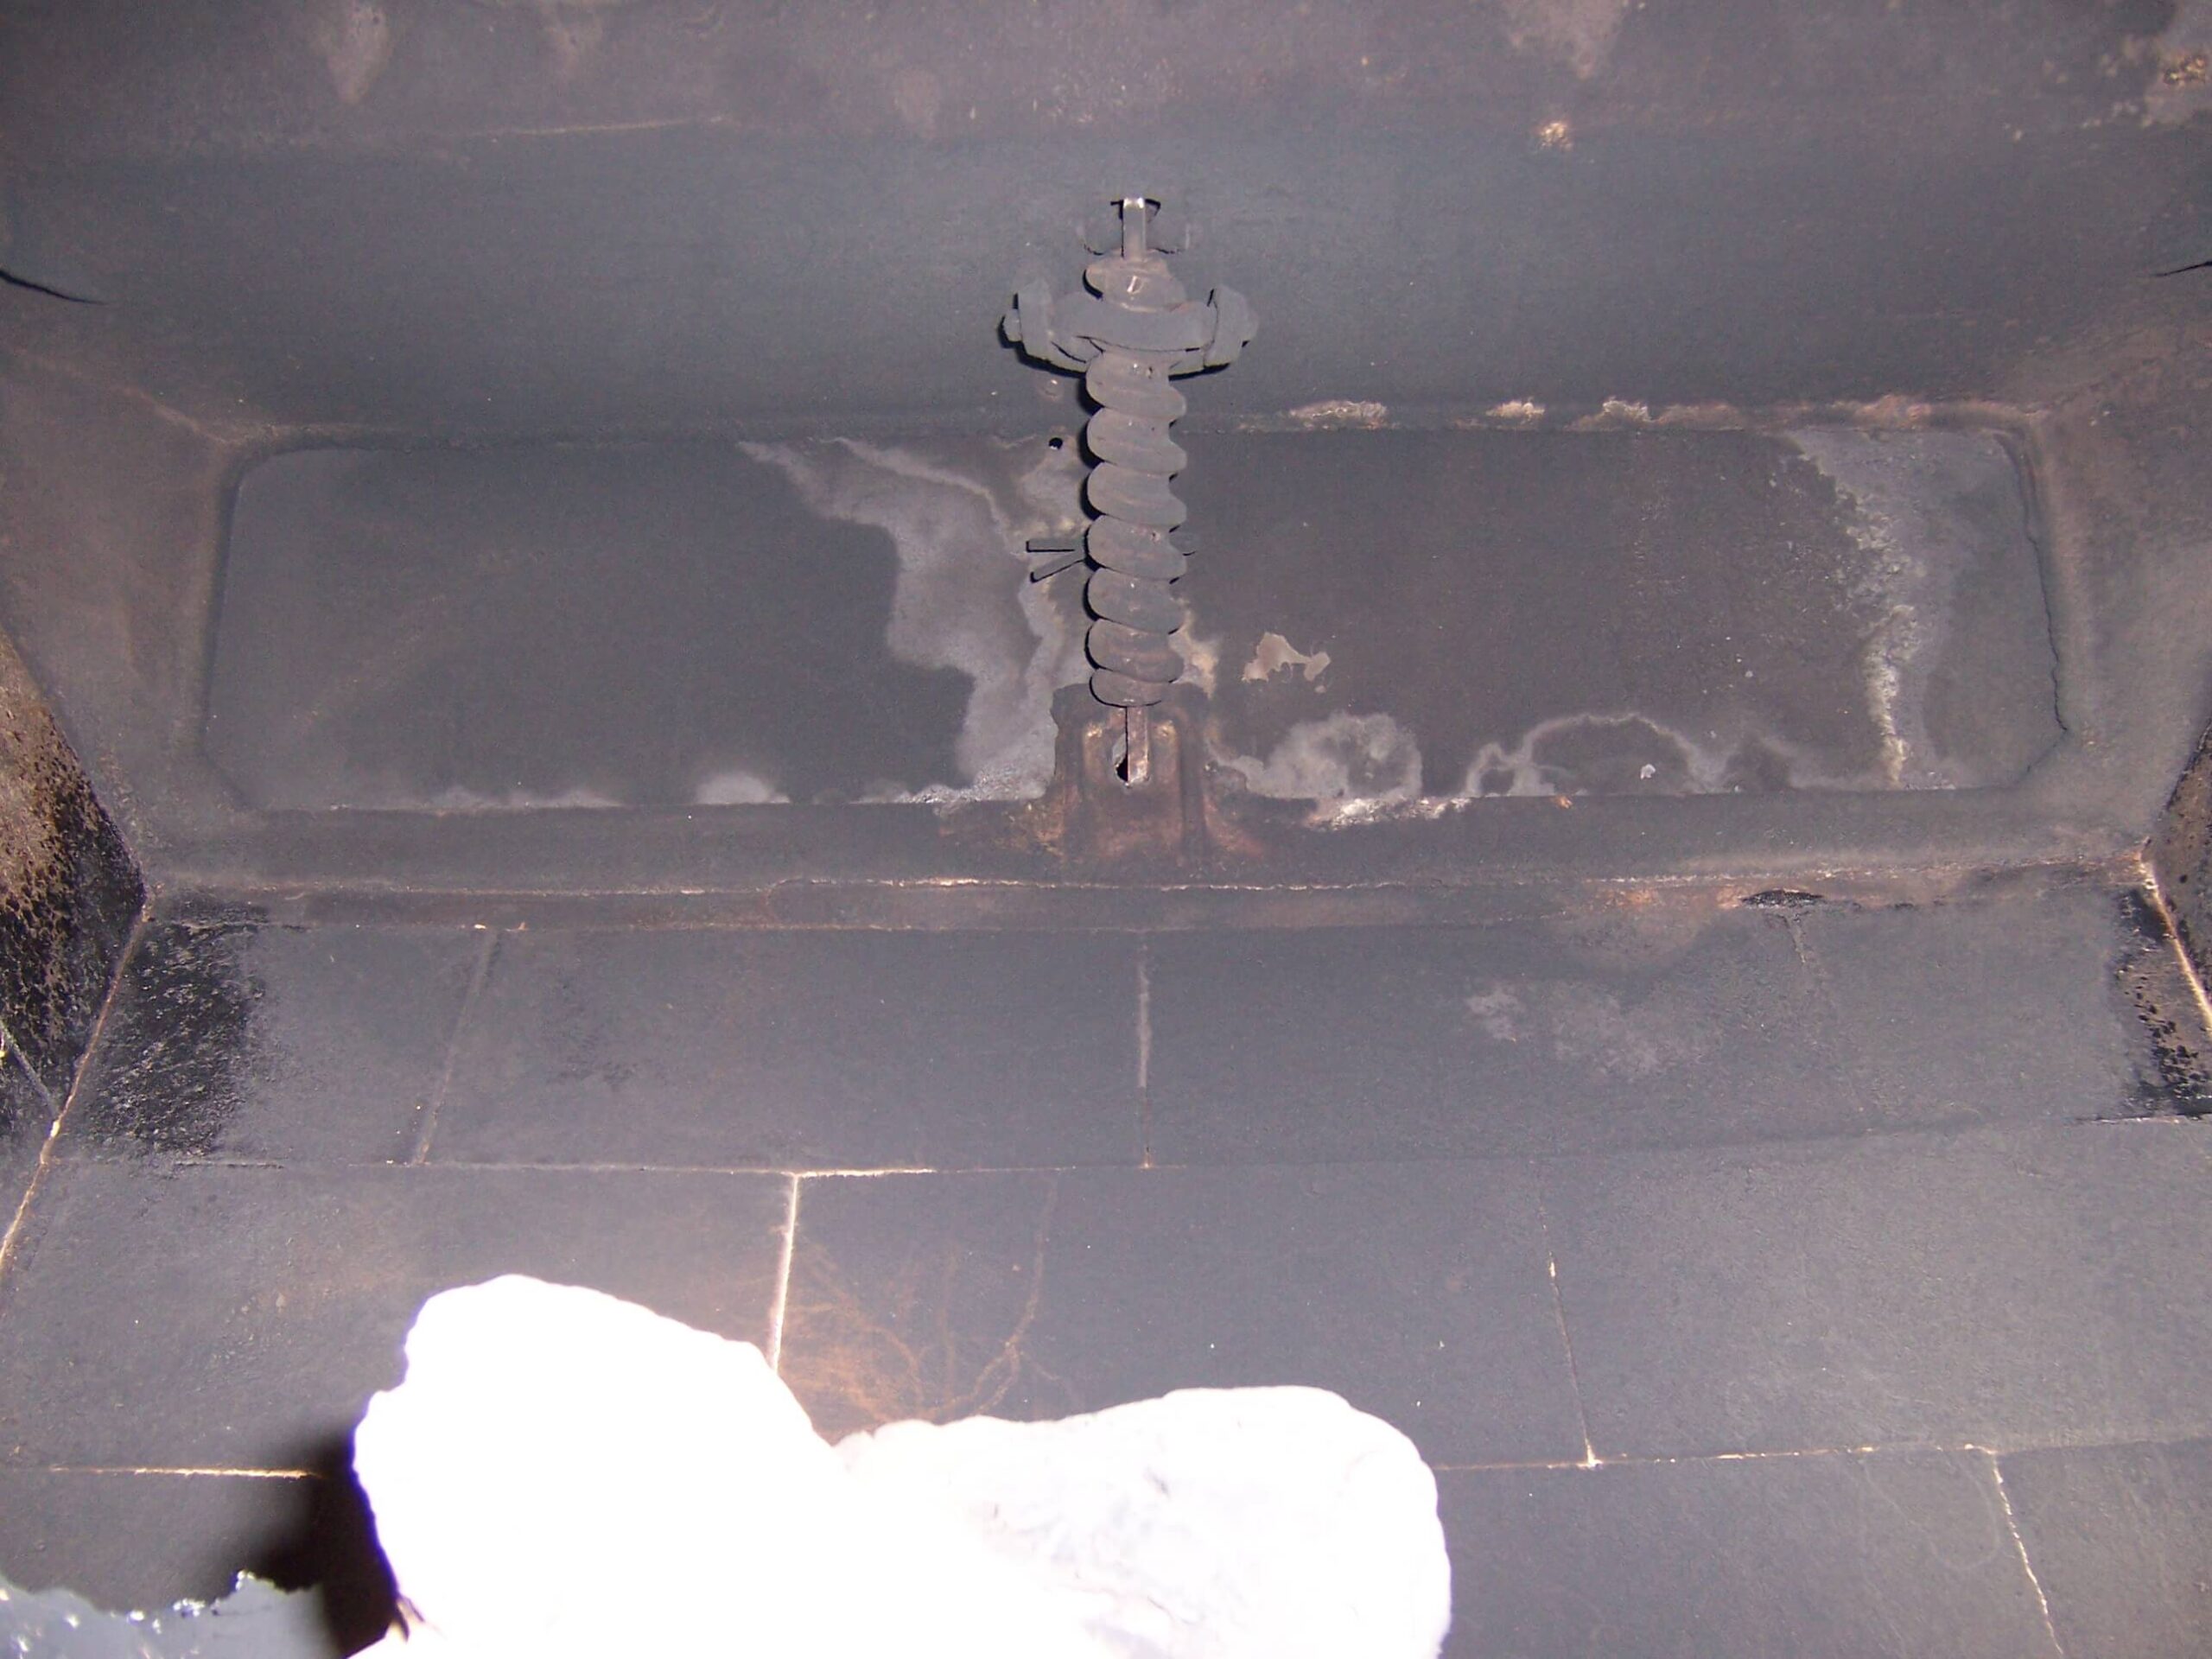
51-3 Pull Chain on Chain Damper
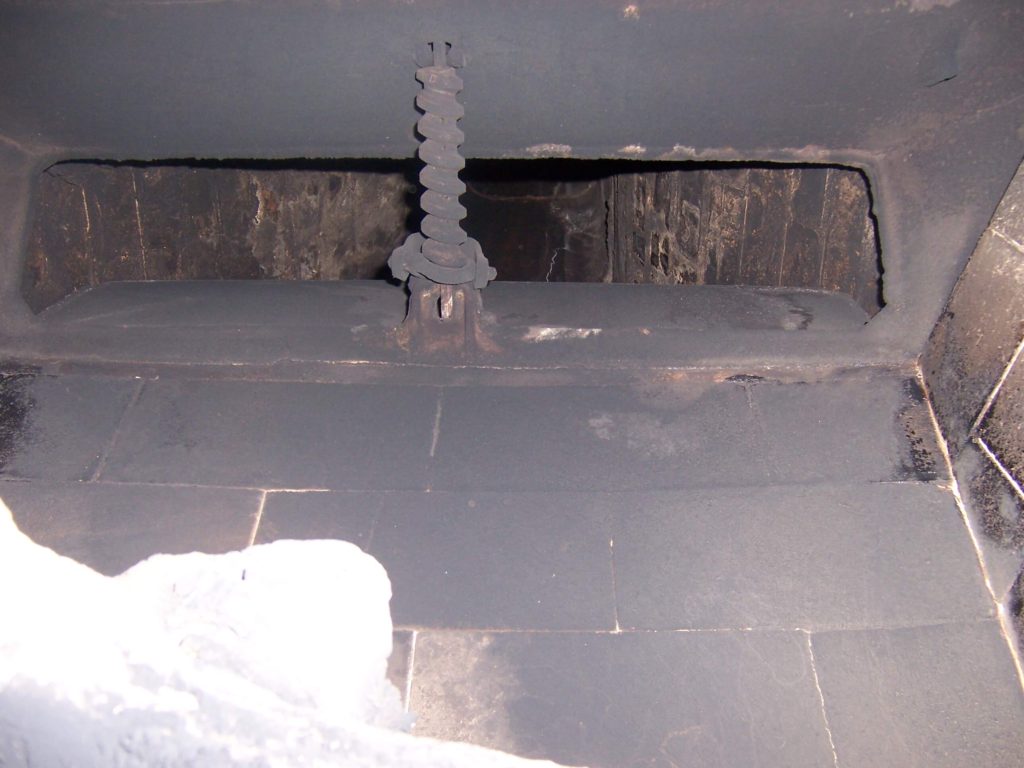
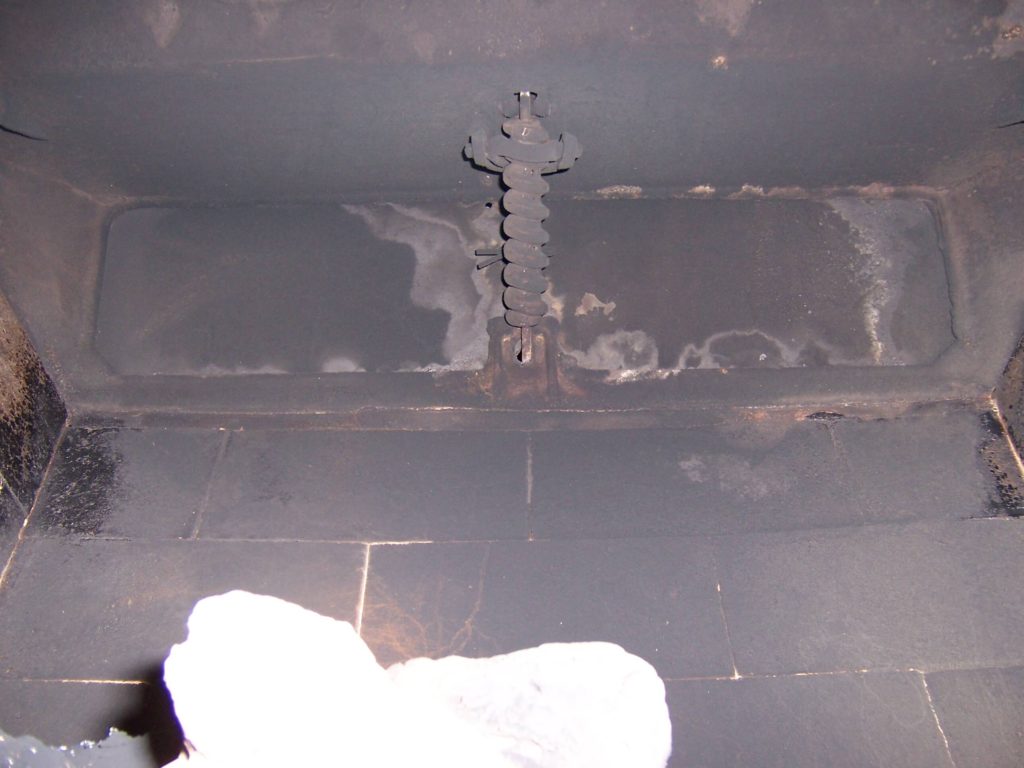
51-4 Open Center-Pivot Damper Door
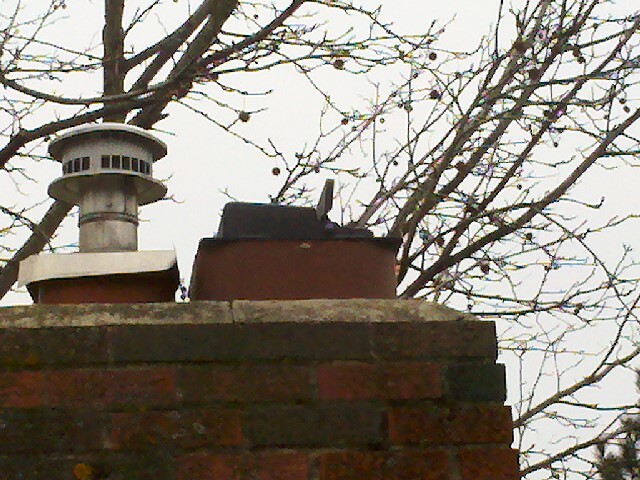
Fireplace #51: Long Rectangle Center-Pivot Damper with Chains
These long center-pivot (butterfly) rectangular dampers are rare. They are usually in custom masonry fireplaces of solid construction brick or stone. They come in a variety of sizes. These are their characteristics of the long rectangle butterfly chain dampers:
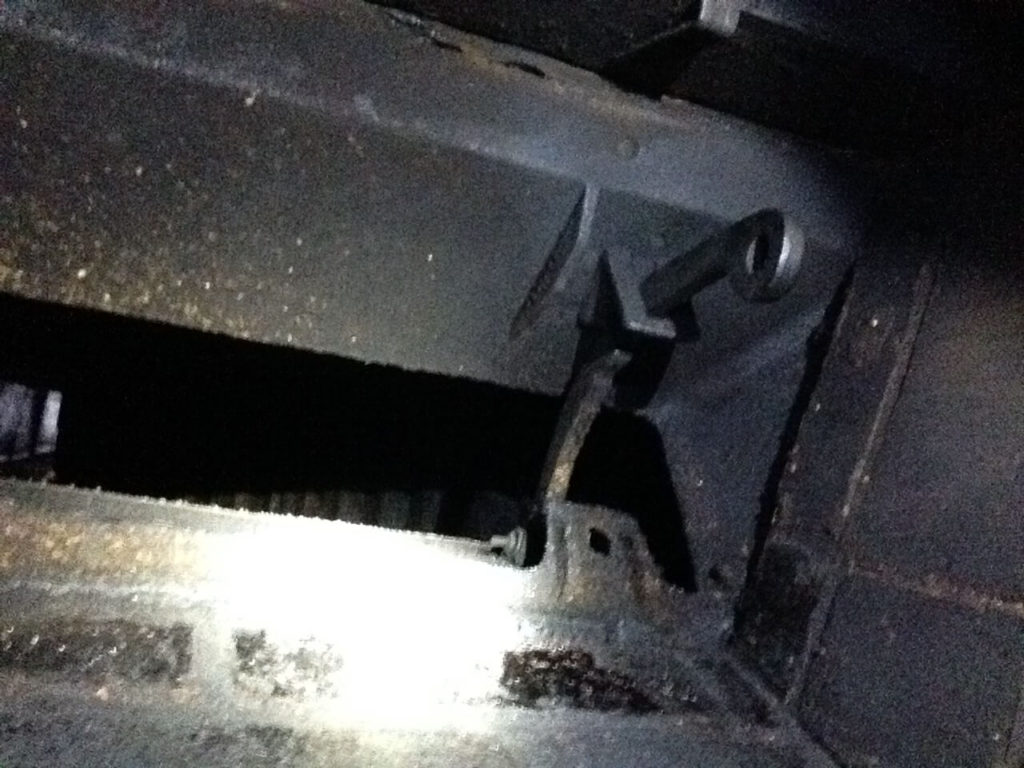
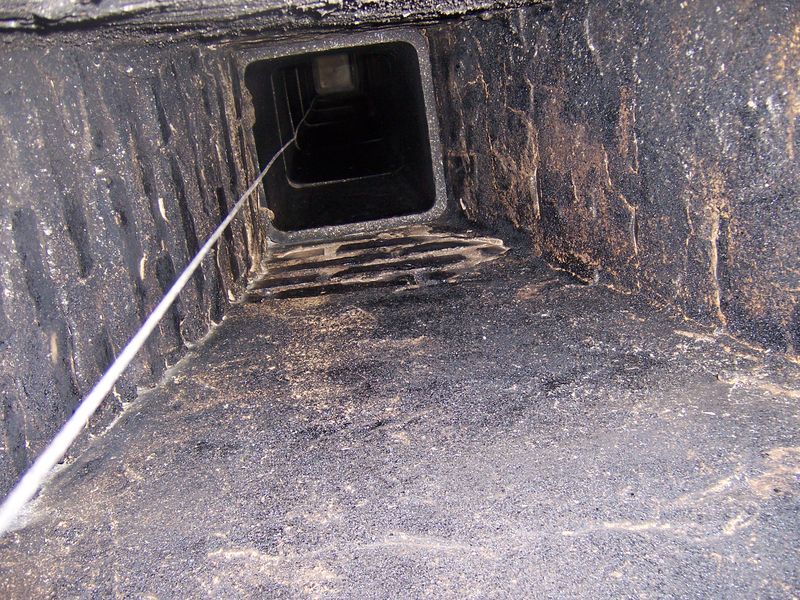
- They have a long rectangular damper door that pivots on a center shaft. (image 51-1 and 51-2)
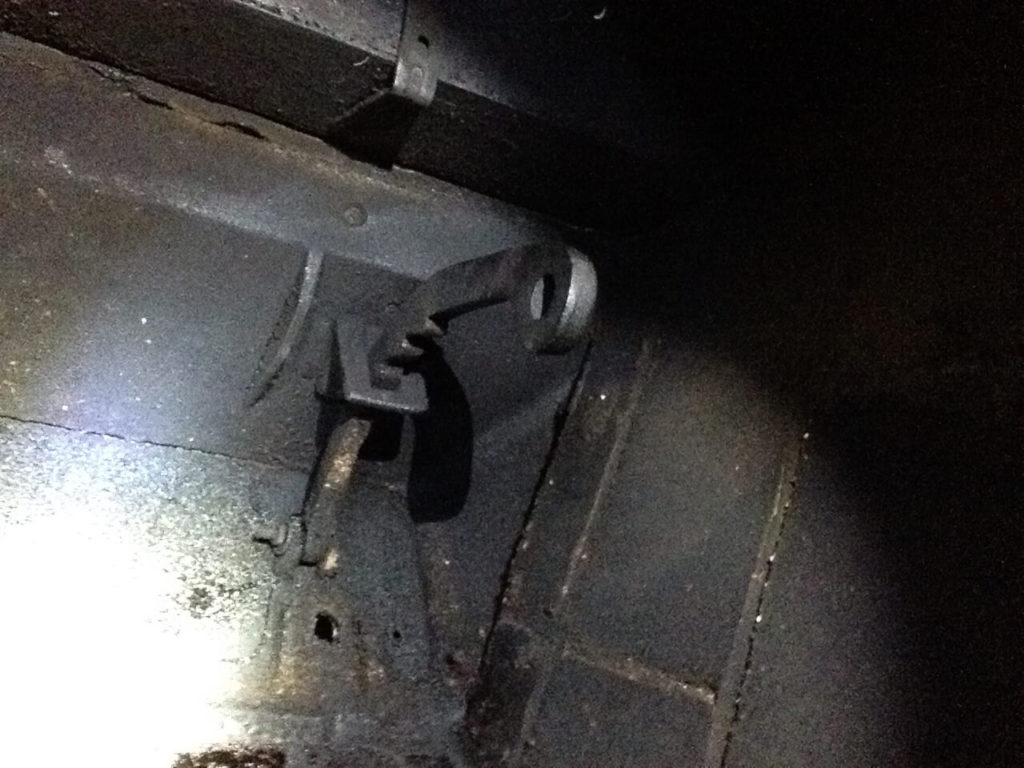
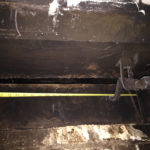
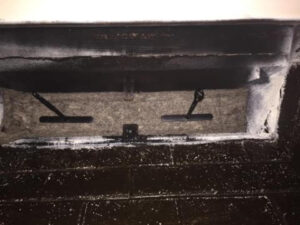
- The door is opened and closed by a pair of chains attached to the face of the damper door (image 51-3). They hang down on the left and right side of the firebox.
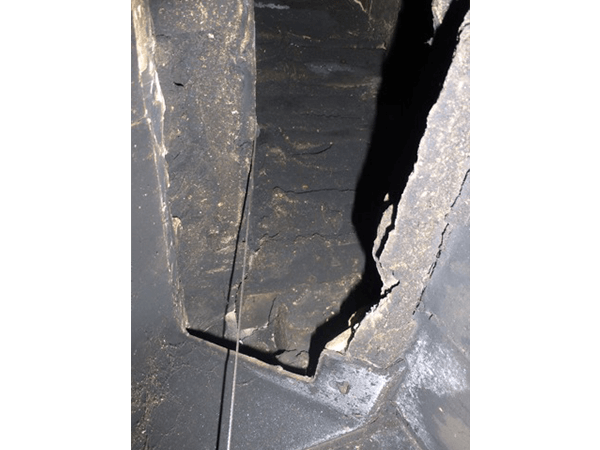
- The damper frame is narrow and the damper pivots on a center shaft. When the damper is open there is very little access to the smoke shelf or flue tile above the damper (image 51-4).
- There is usually 2″ to 9″ of uninterrupted vertical space under the damper before the lintel opens to the room.
Because of the limited access above the damper. We will focus on products that install below the damper.
The Flueblocker is a durable option
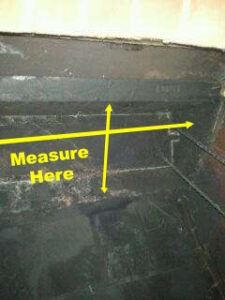
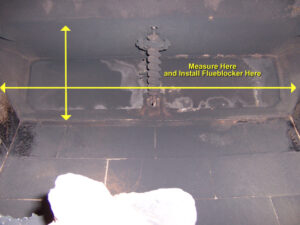
51-6 Where to Measure for a Flueblocker
The Flueblocker is the best solution for this application, since the chains below the damper door can easily be pressed to the side of the firebox. Here is how a Flueblocker is installed:
- Measure the wall to wall area left to right, and front to back below the damper (see yellow arrows in image 51-6). Then buy a Flueblocker that is a few inches bigger. If it is a really large area you may have to contact us for a custom size quote.
- Tuck the Flueblocker into the area you had measured. If it is over-sized, it may bow upward a bit from the pressure fit, or you can trim it to fit with sharp scissors.
- Remove the Flueblocker before you have a fire.
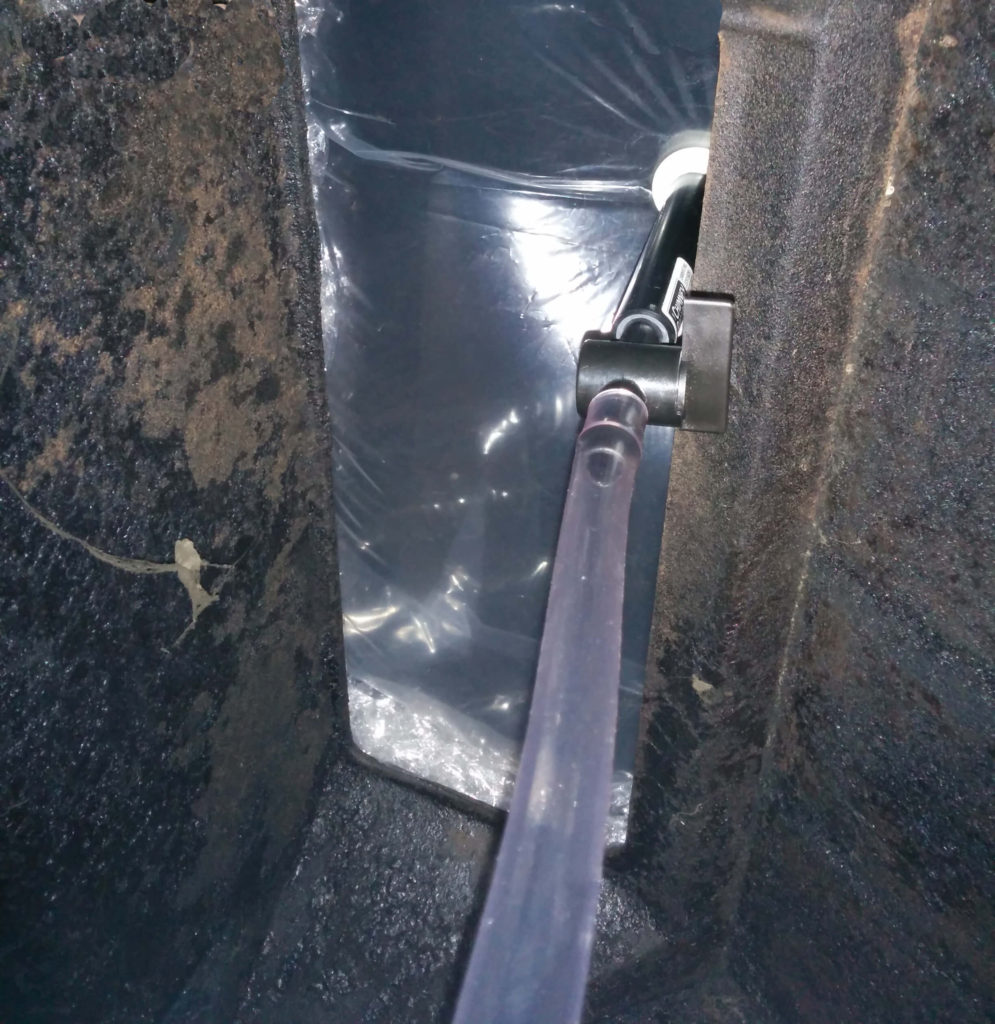
What about the Chimney Balloon?
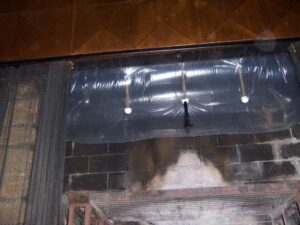
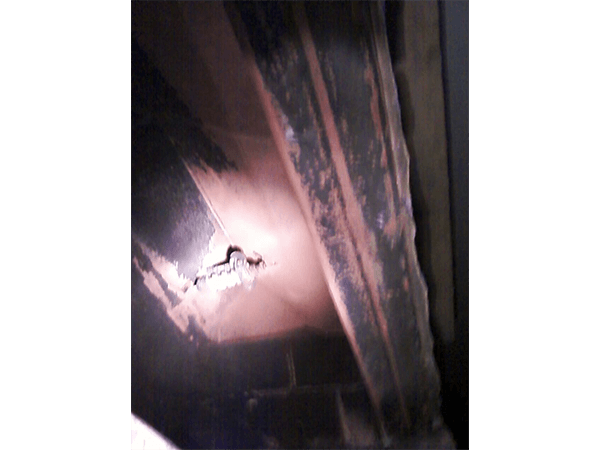
51-7 Looking Up At a Chimney Balloon Below a Chain Damper
You can use a Chimney Balloon to plug the wall to wall area below a damper like this. There has to be at least 9″ of vertical space below the damper to fit the balloon in (image 51-7). Measure wall to wall left to right and front to back below the damper and buy a Chimney Balloon that is slightly larger than that. For example, if you measure 34×13 then buy a 36×15 Chimney Balloon. When you inflate the Chimney Balloon in place it may bulge below the lintel a bit and be visible from the room. The Chimney Balloon will require a top-off of air each 6 to 12 months, and it is not quite as durable as non-inflatable plugs. So consider it a “Plan B” for this application.

 For this application, go with a Flueblocker.
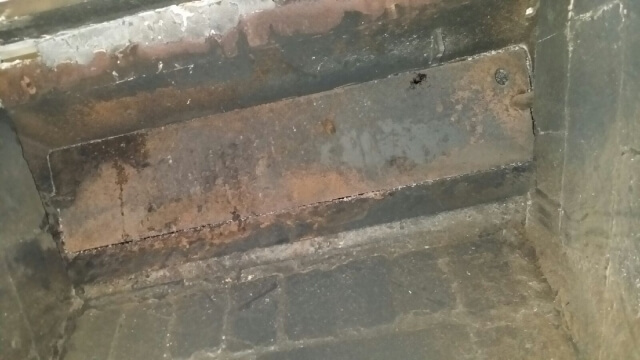


 The Flueblocker is the best solution for this application, since the damper hardware below the damper door is not protruding down into the firebox. Here is how a Flueblocker is installed: